


Dragon Pet Door for Doors


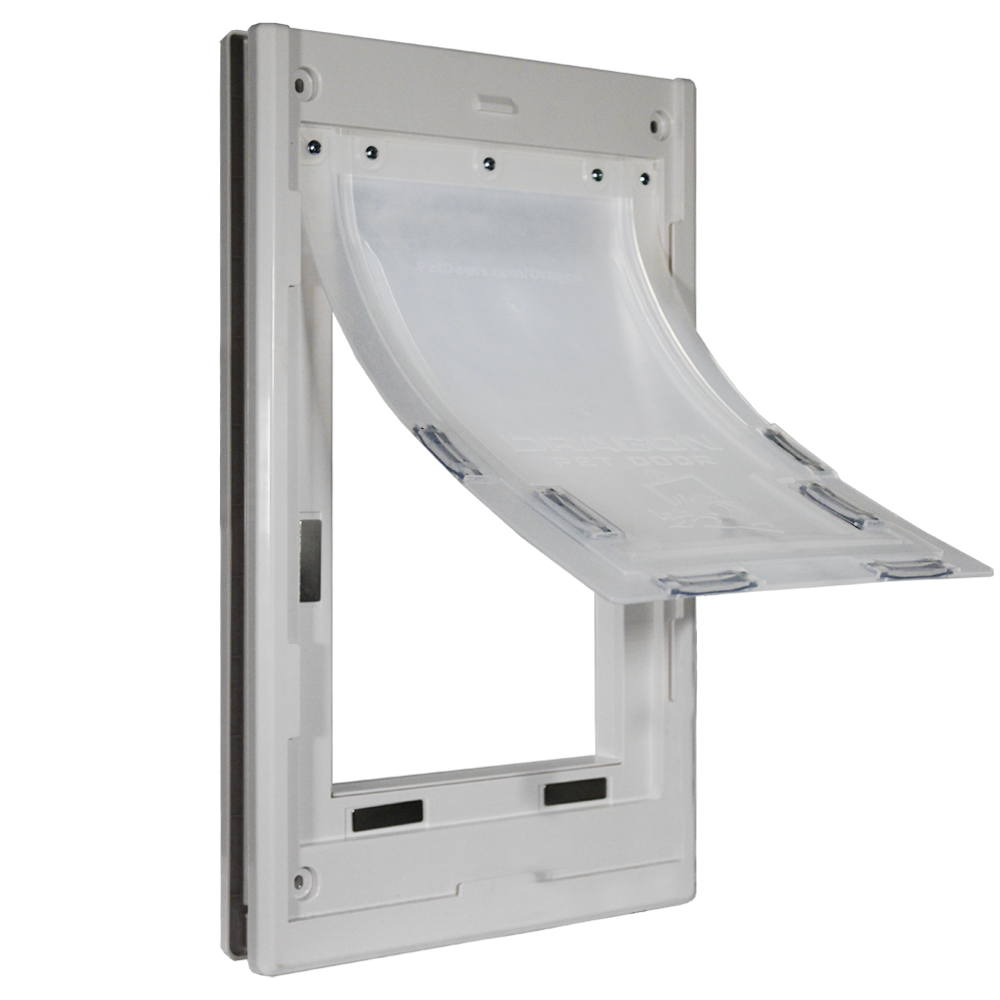
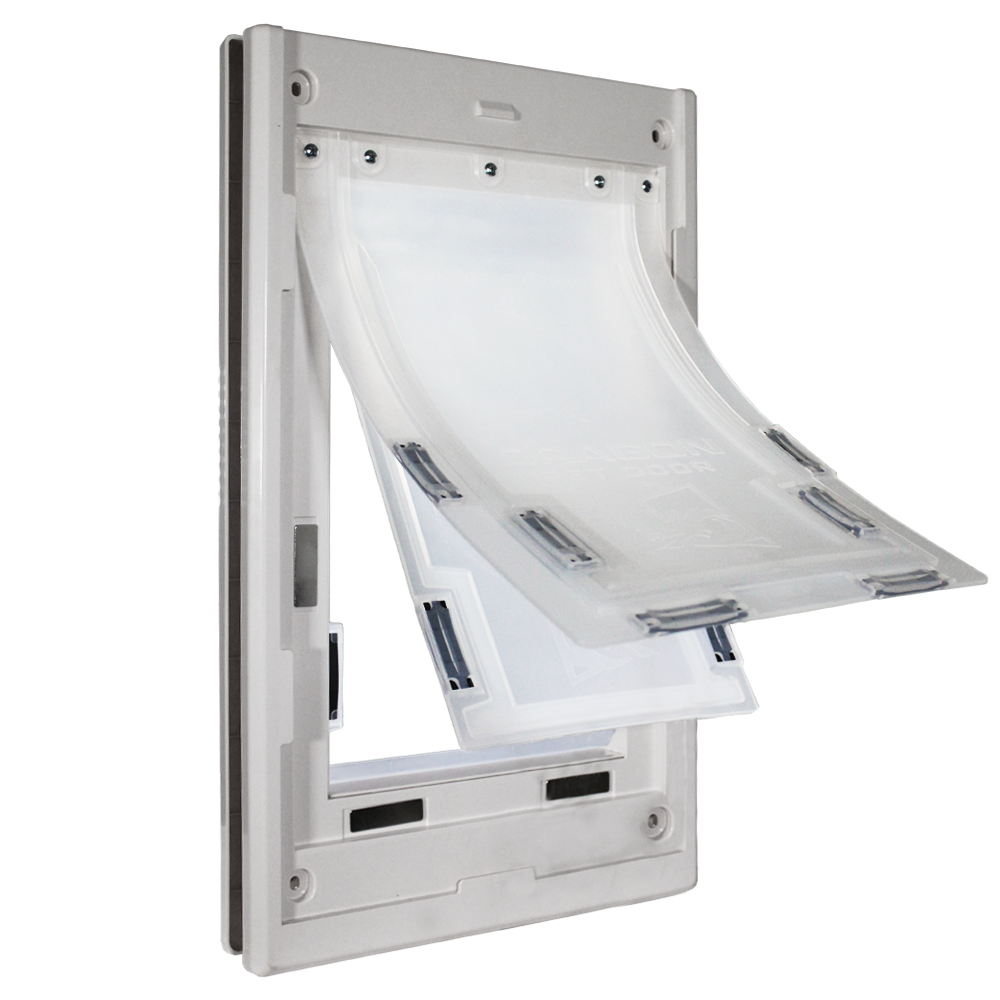

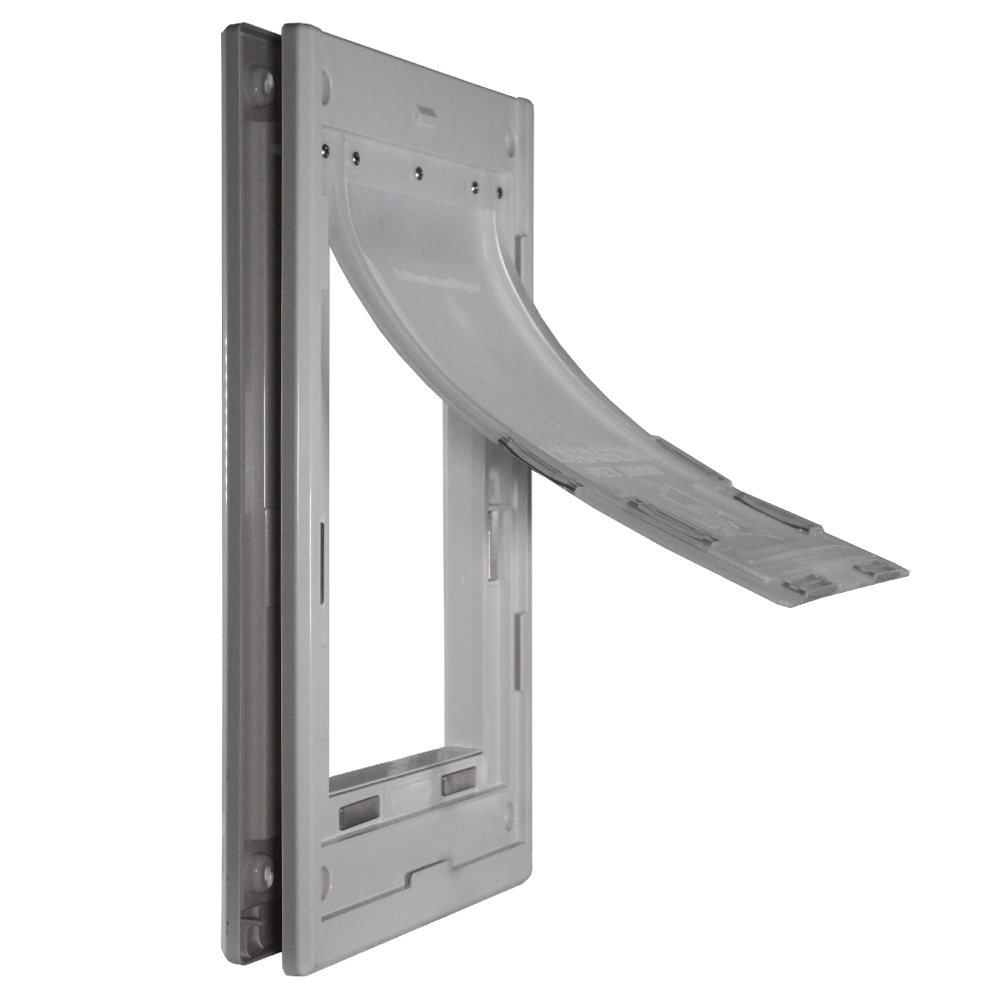
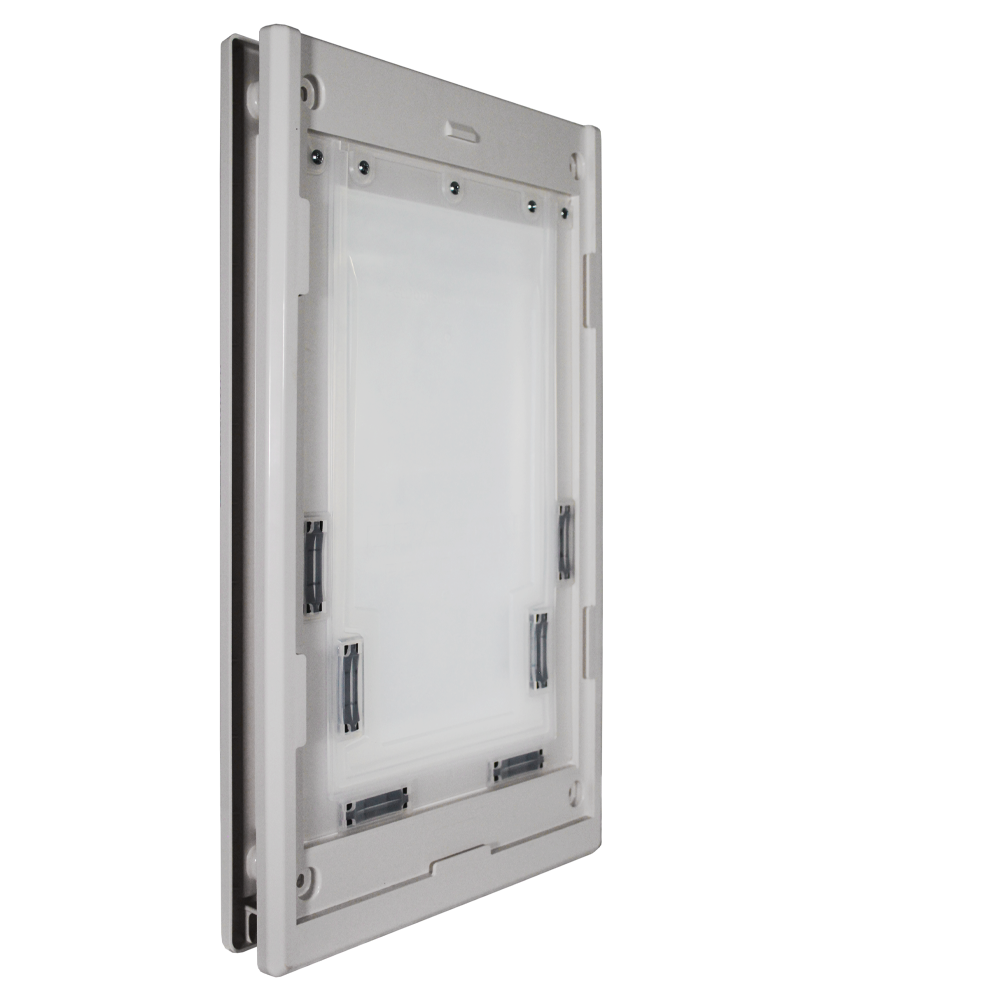
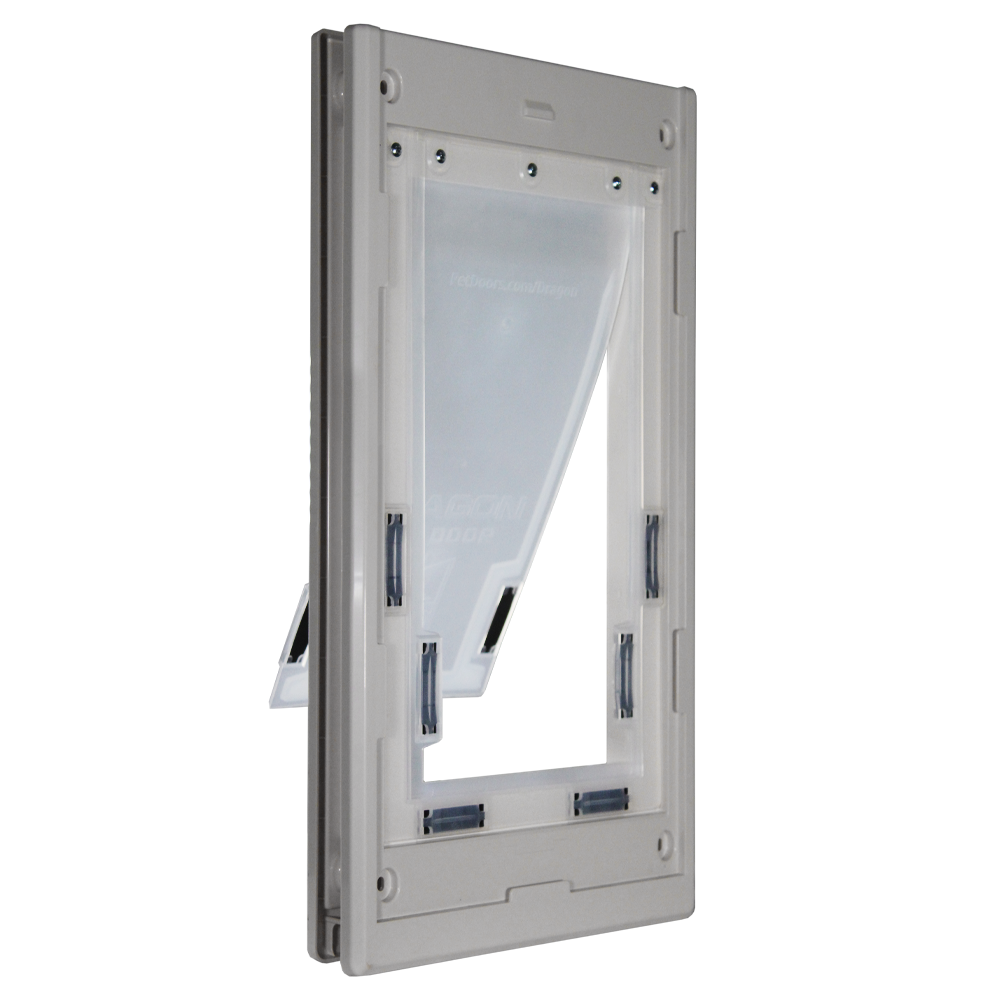
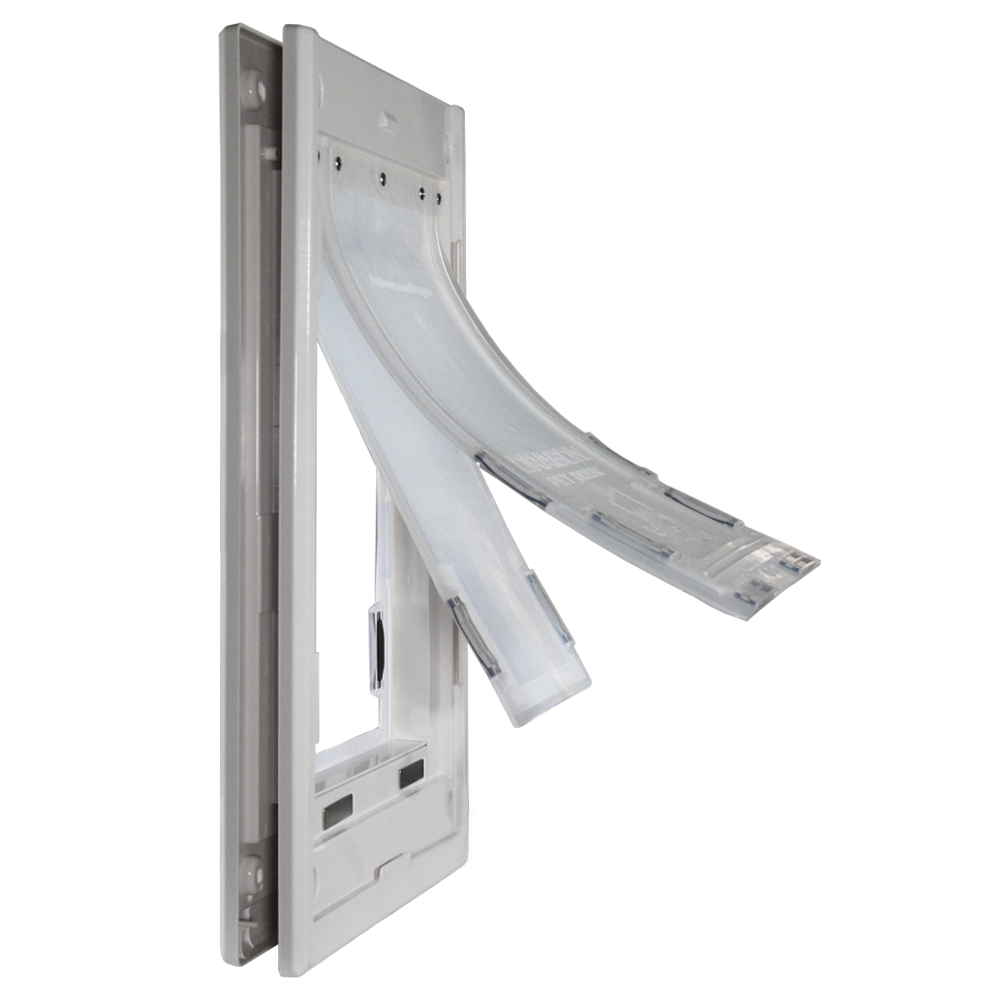
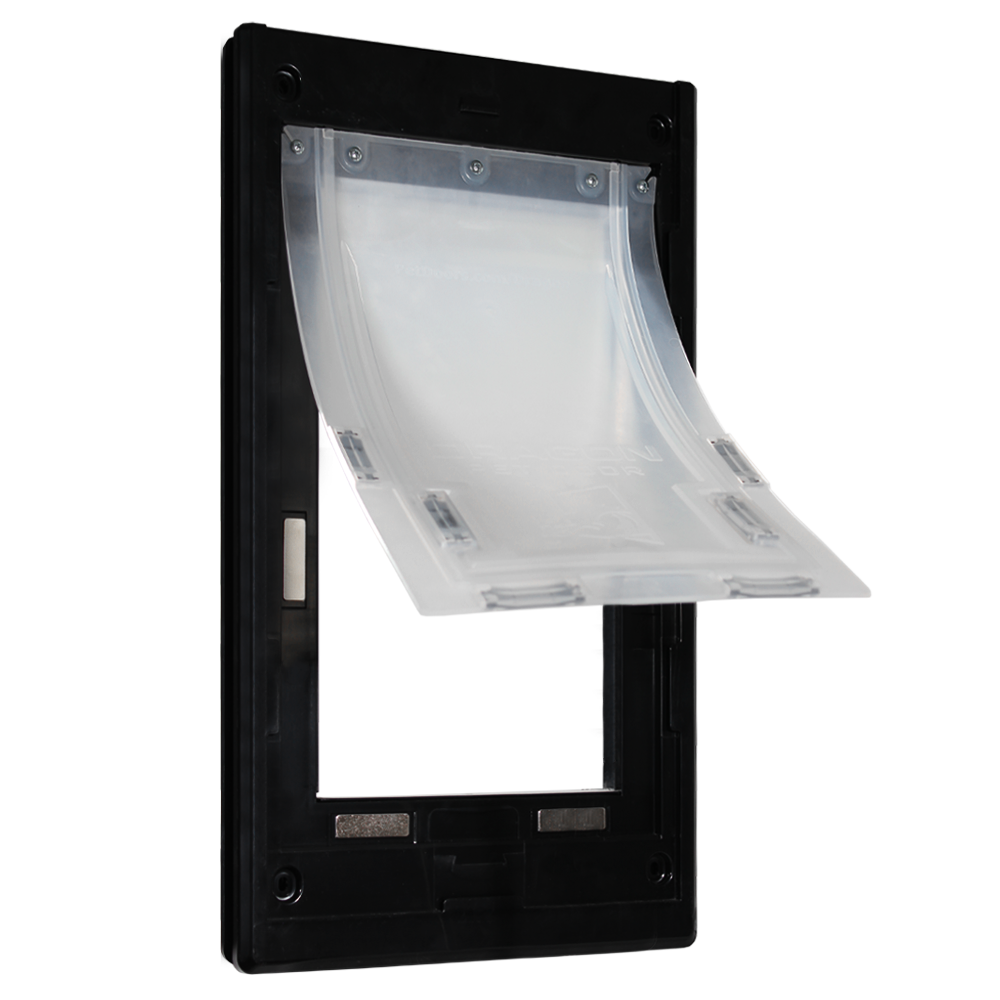
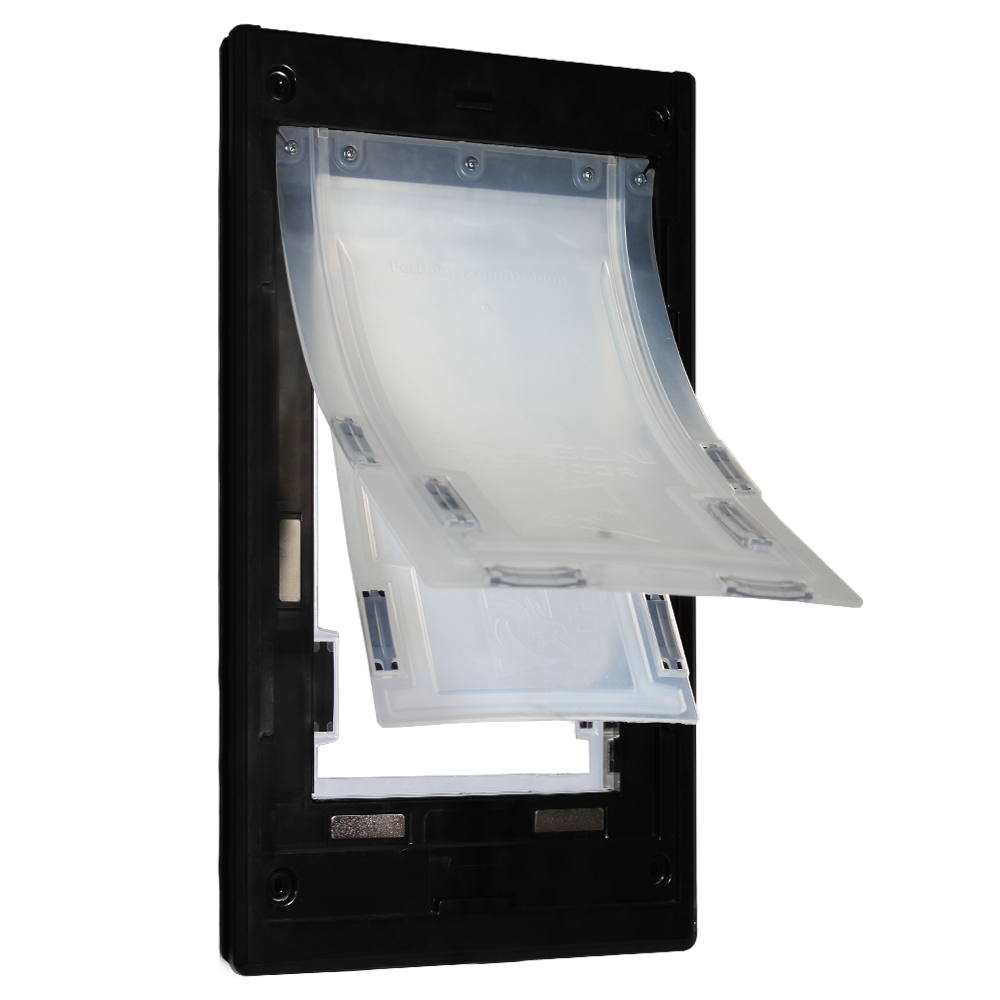
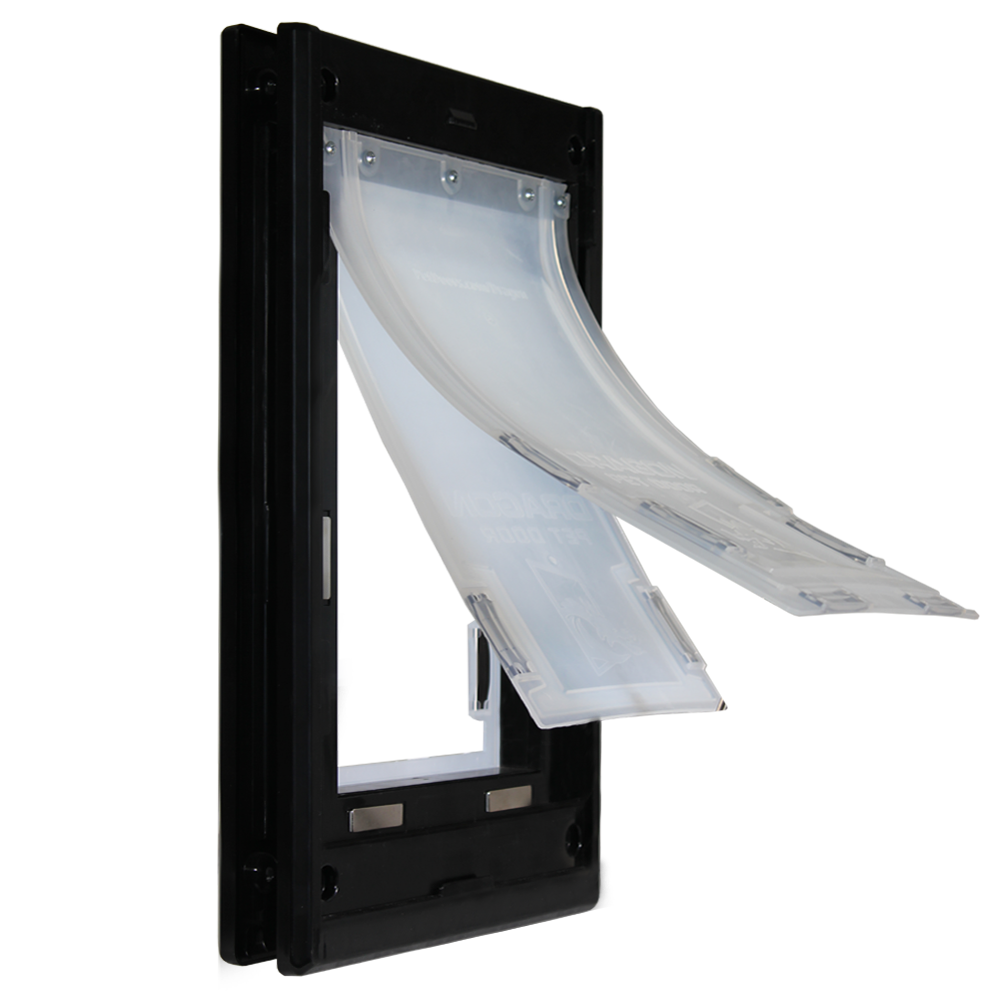


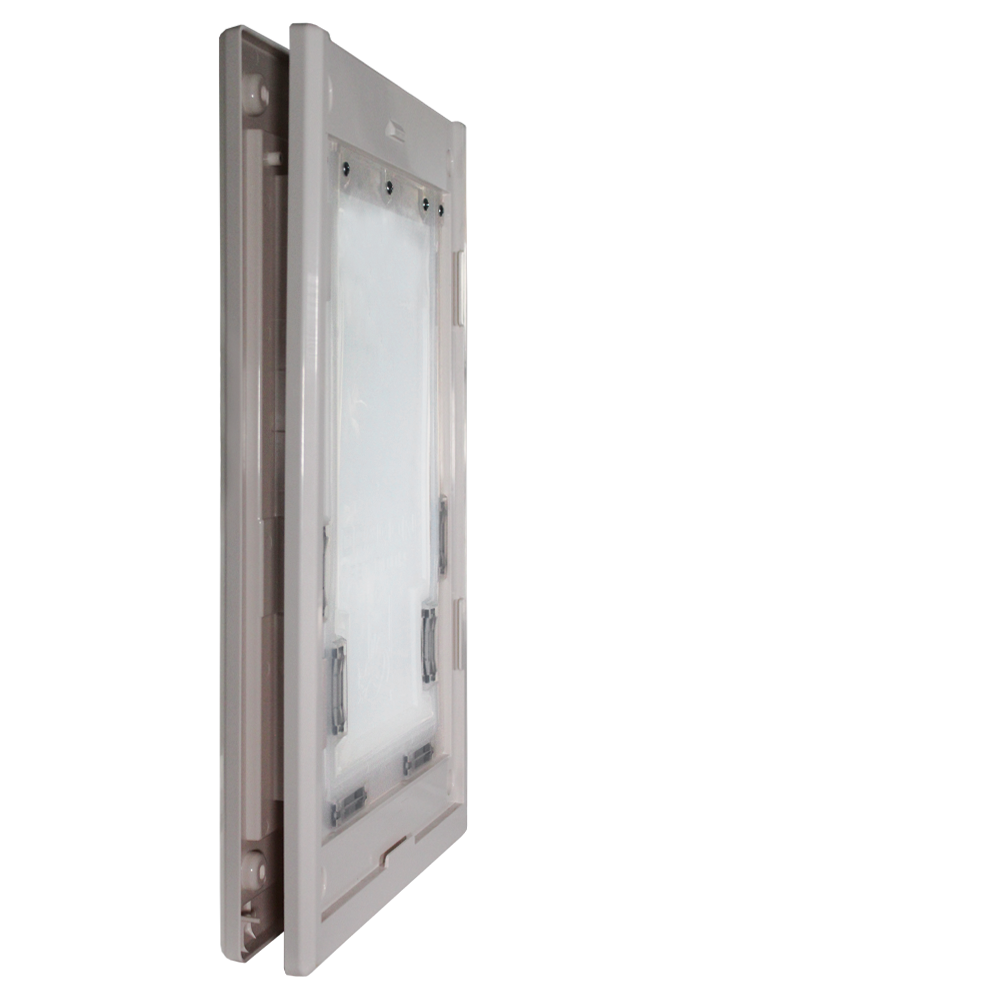
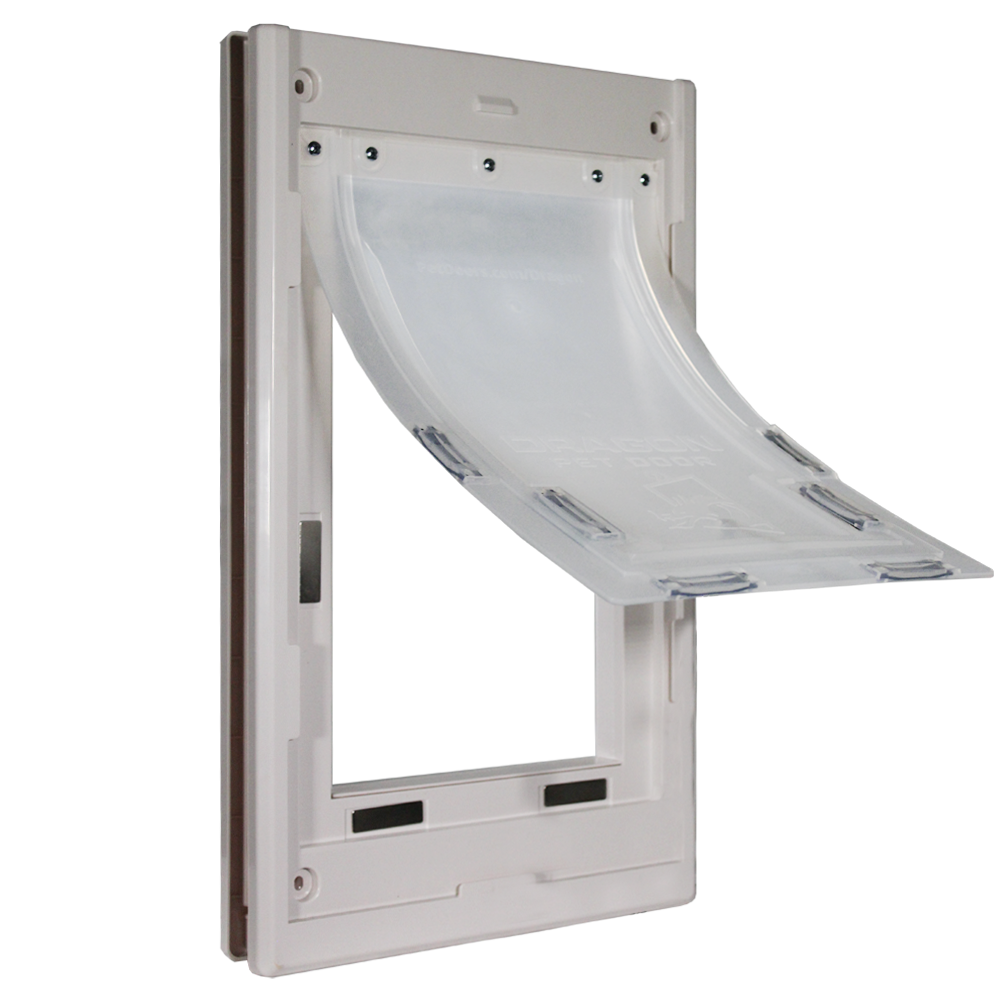


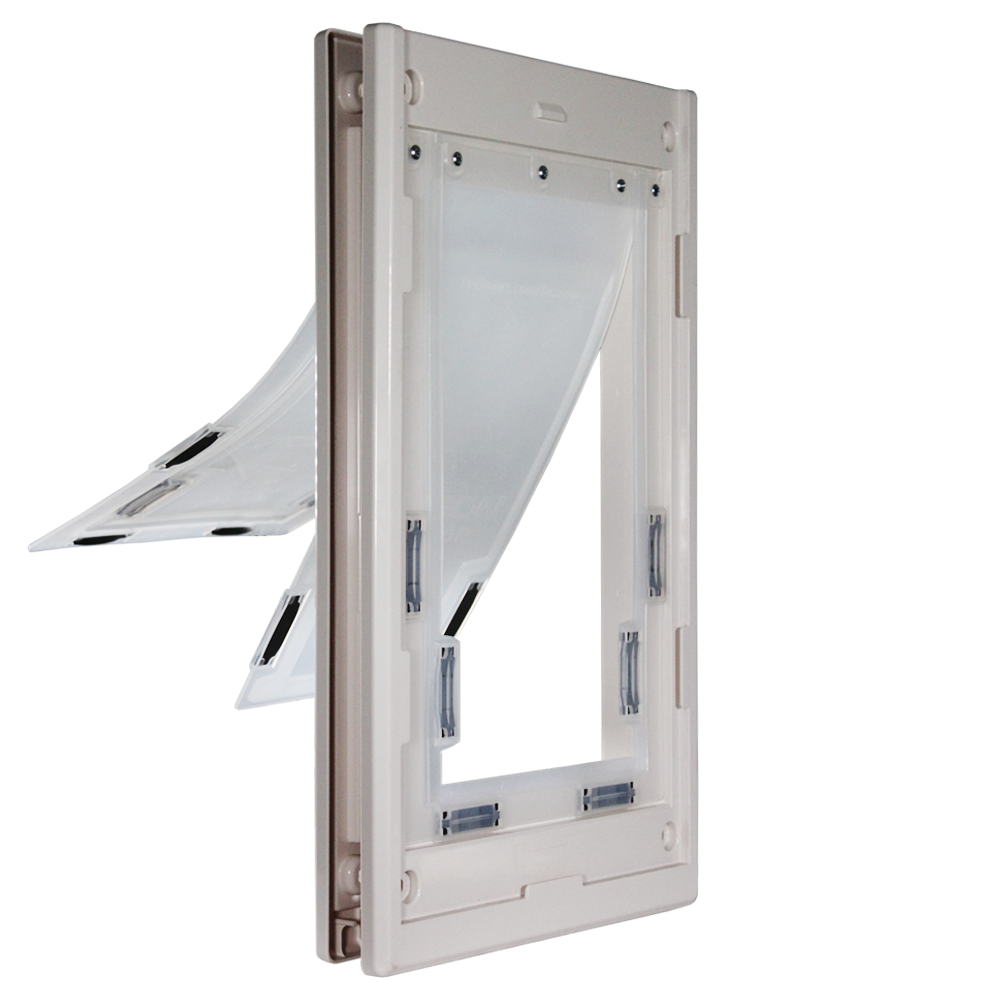
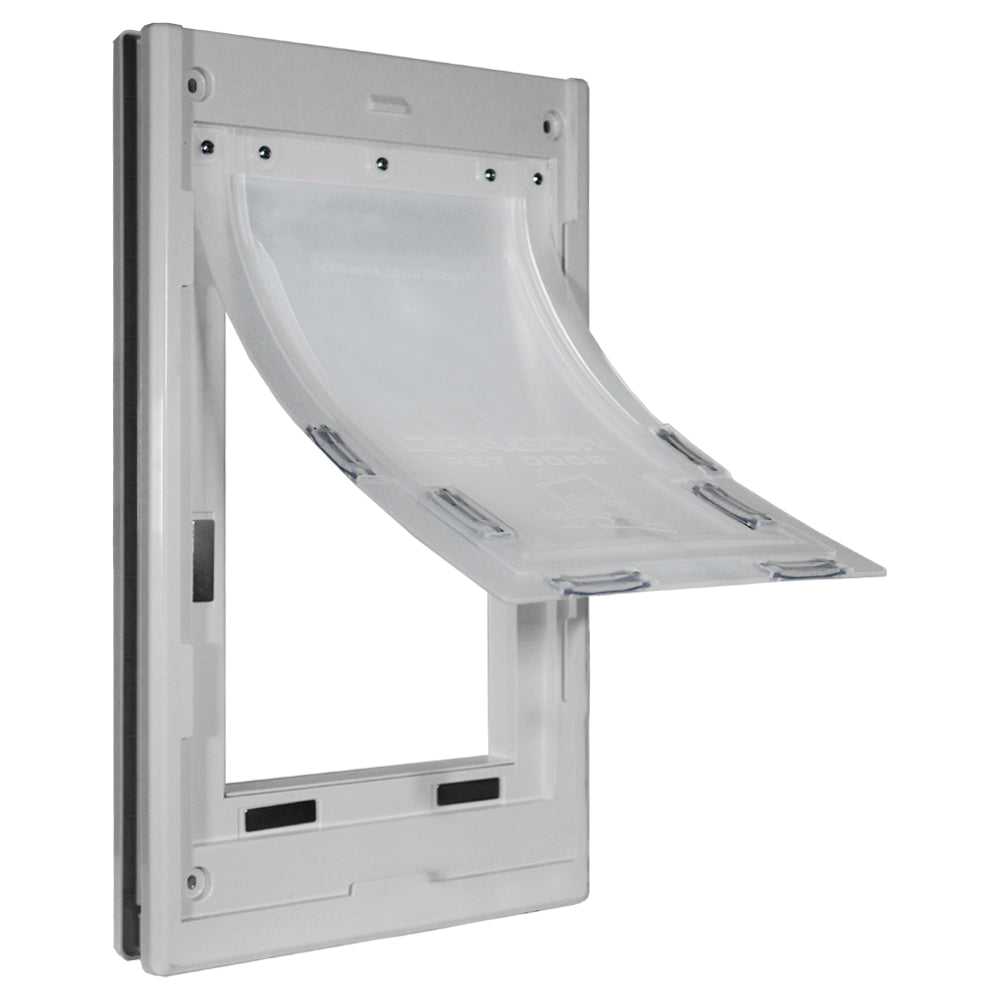
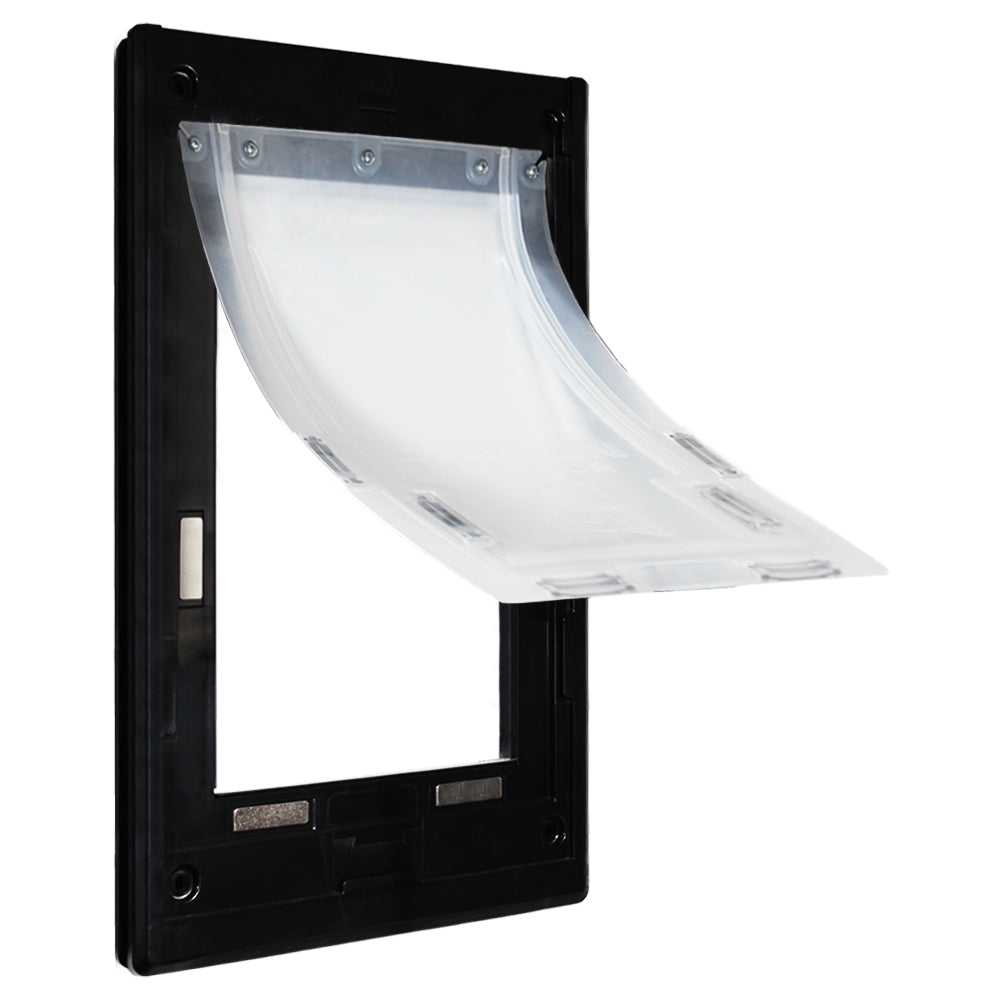
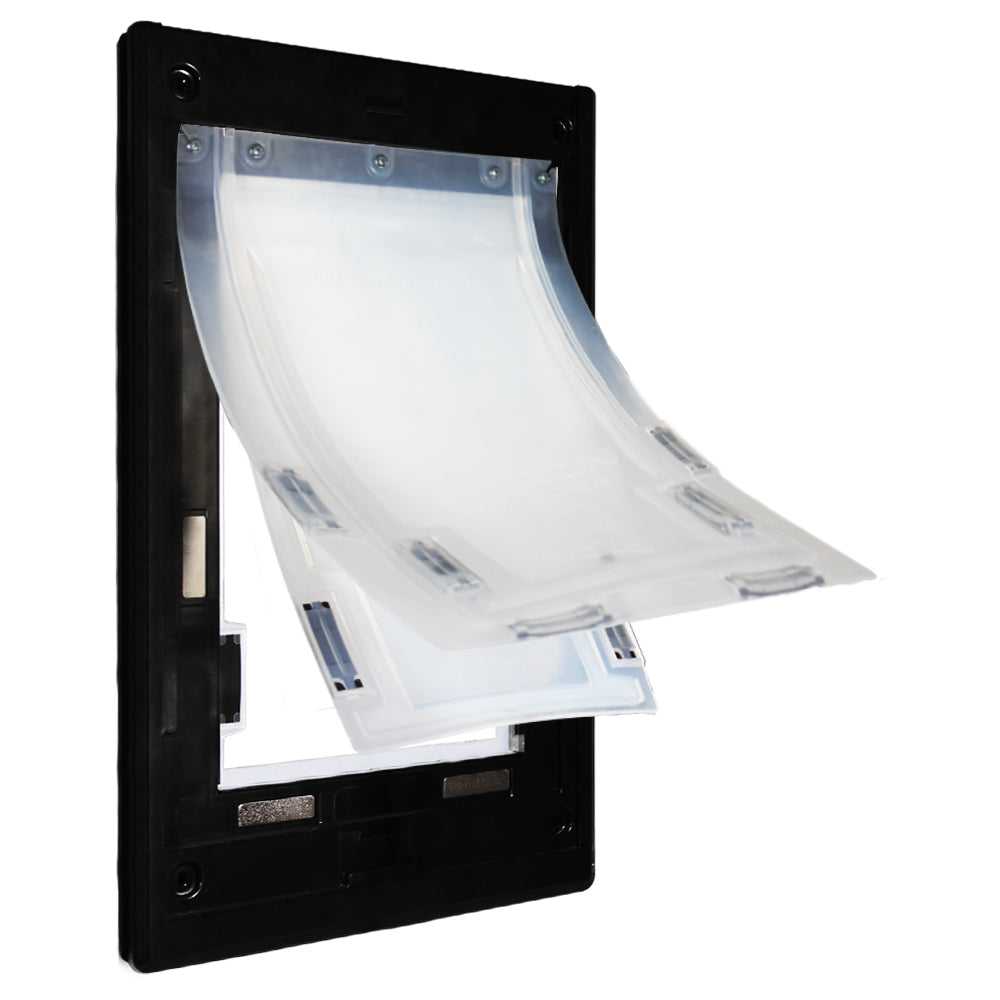

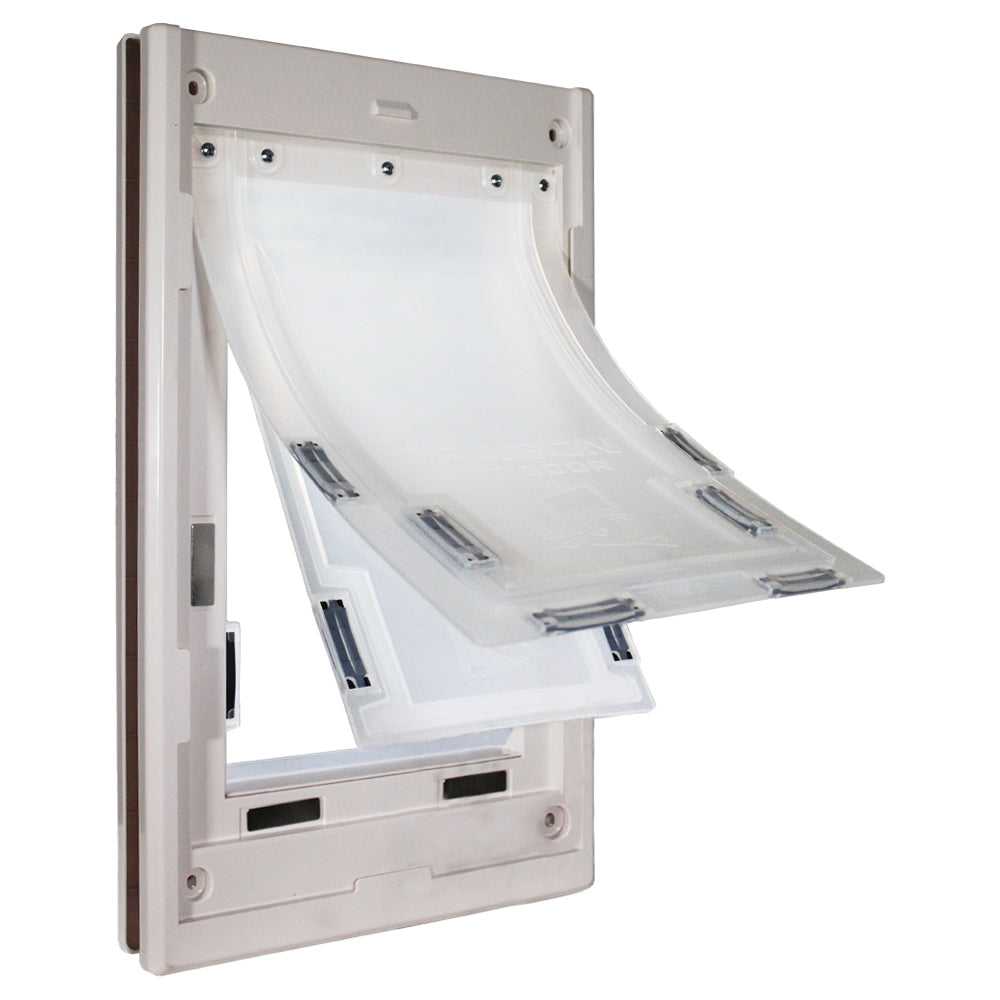
- Two-piece flap design for optimal sealing and home insulation.
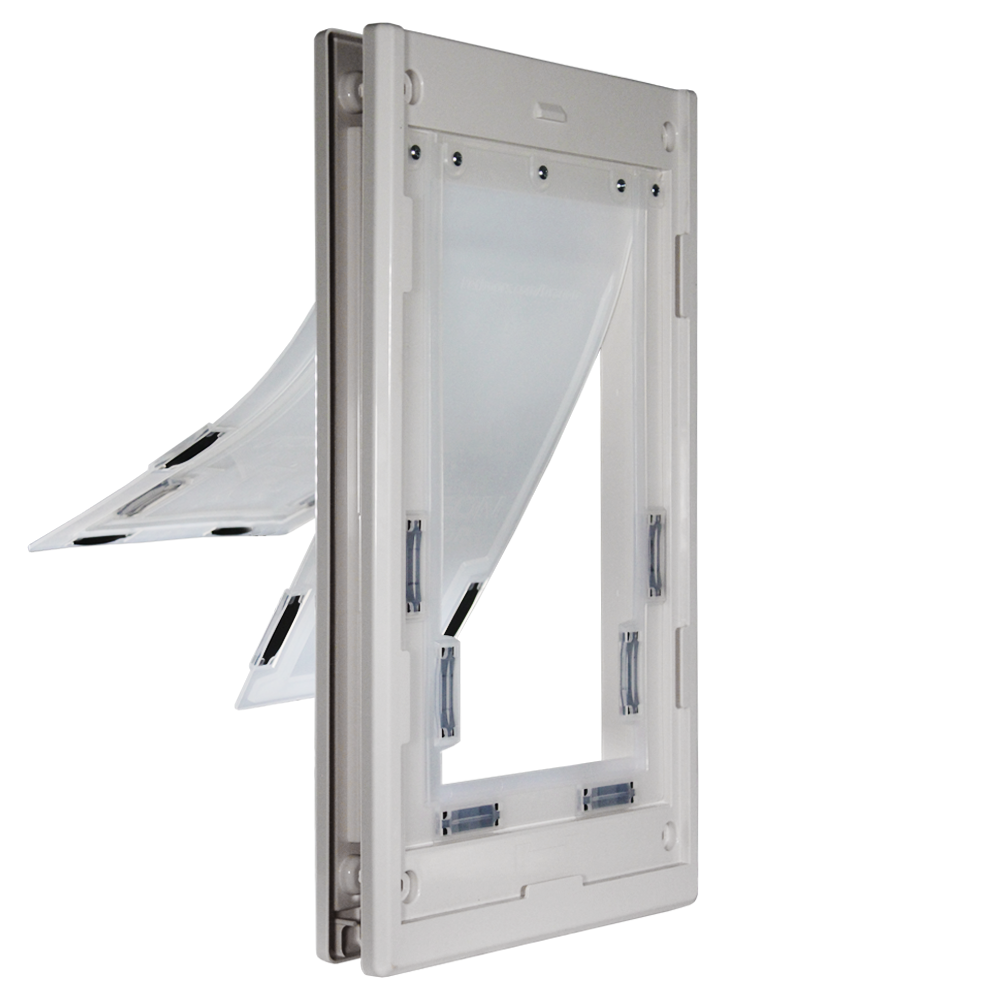
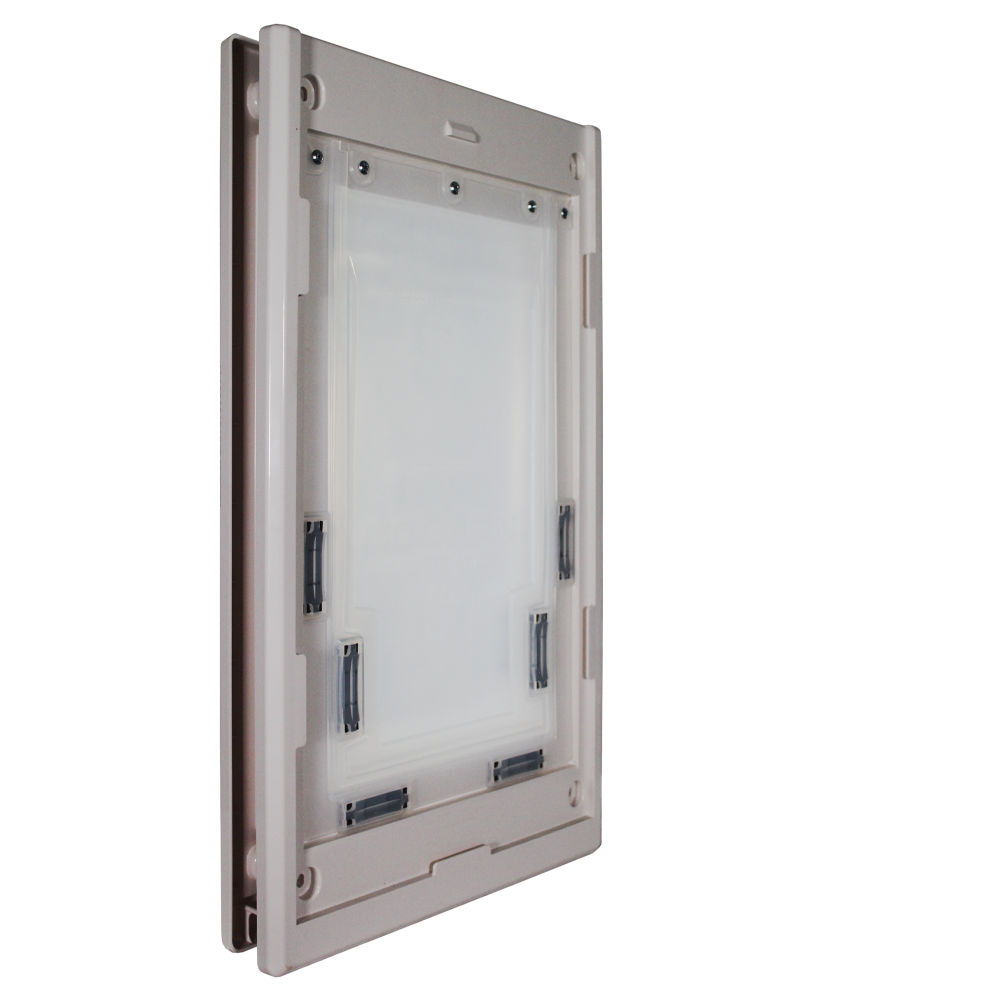
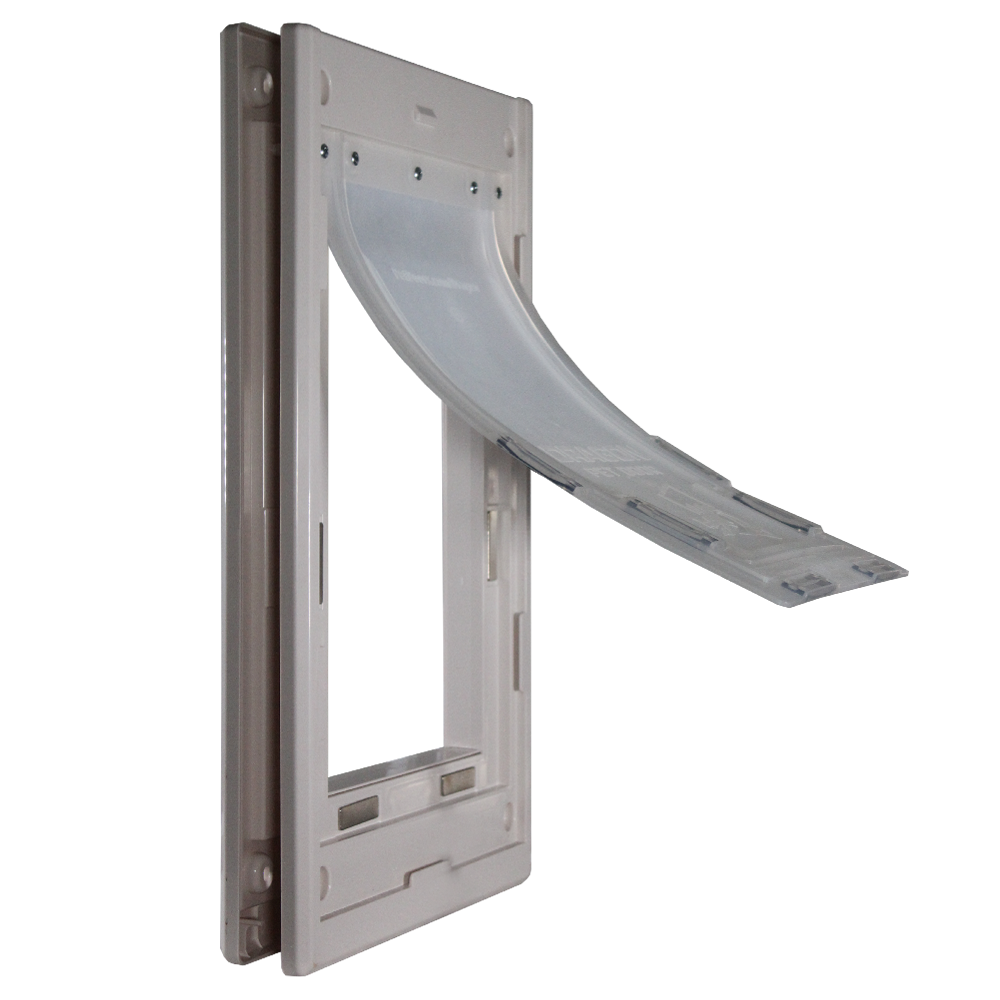
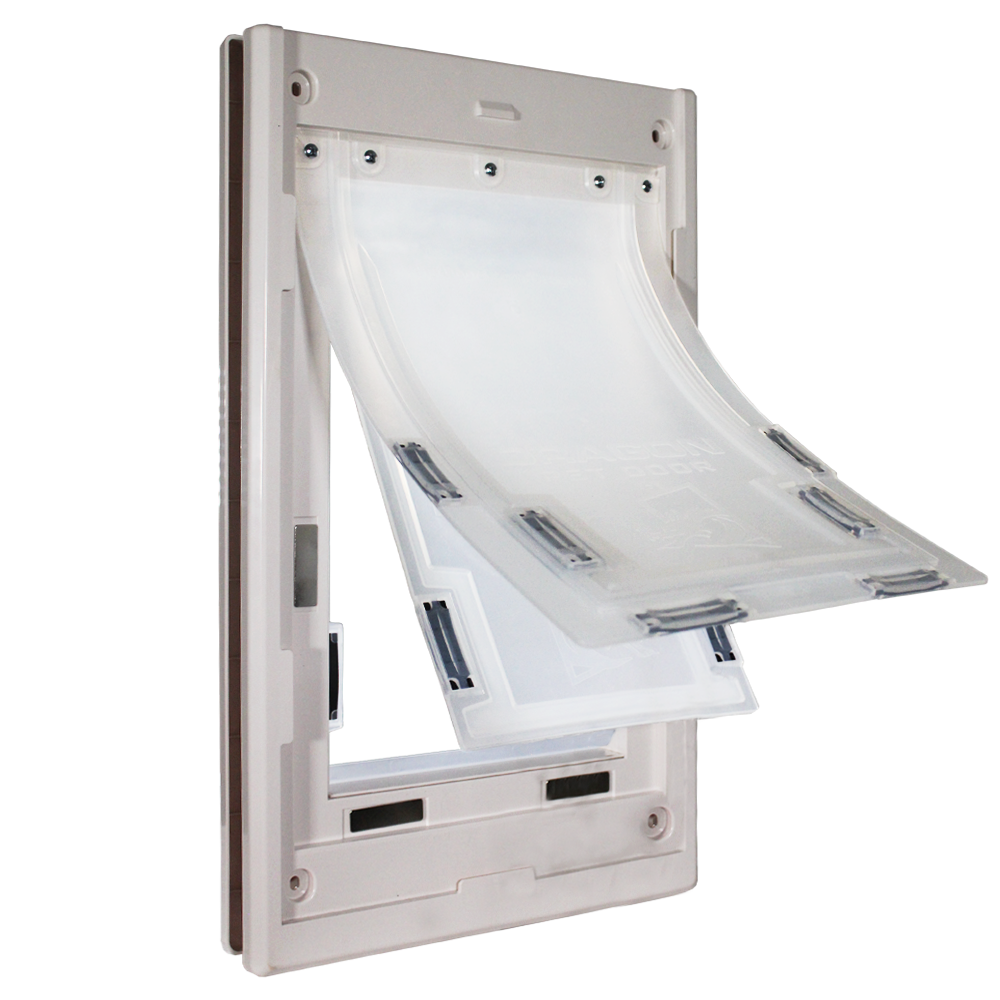
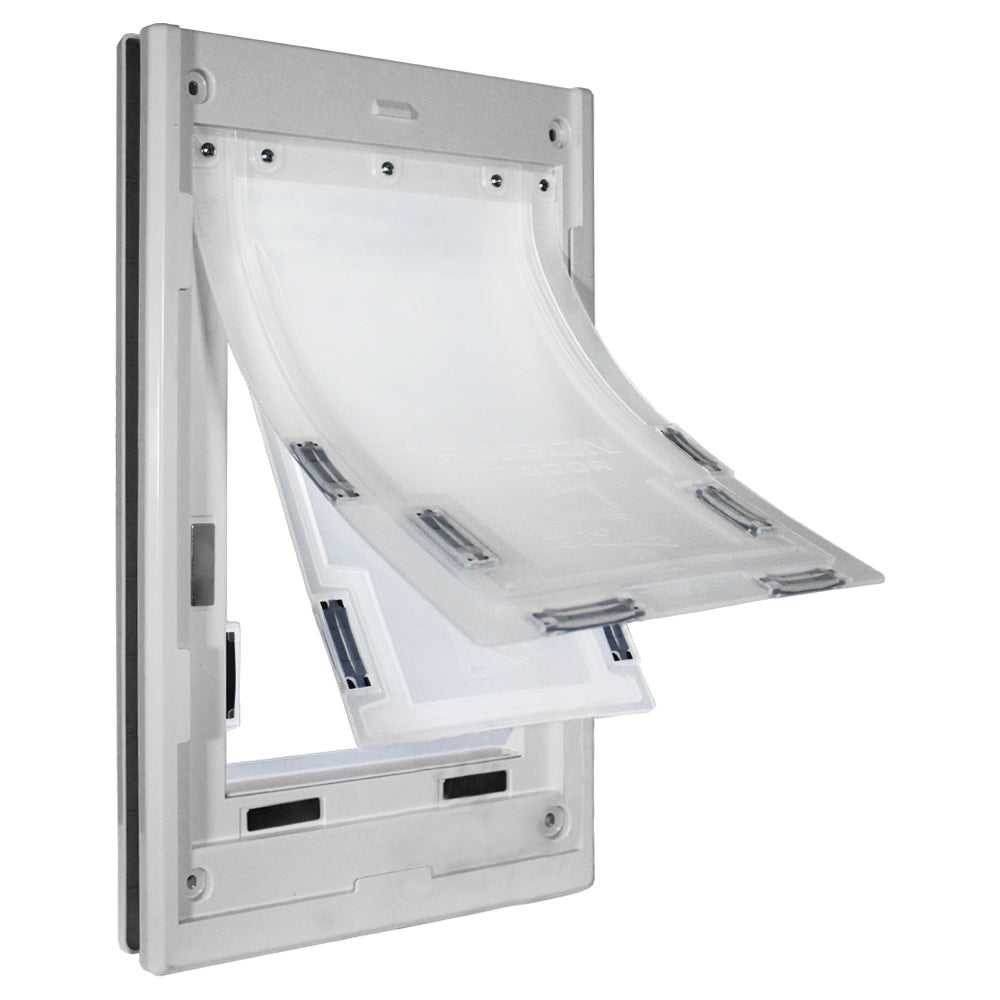
- Available in single or double flap options, adaptable to various climates.
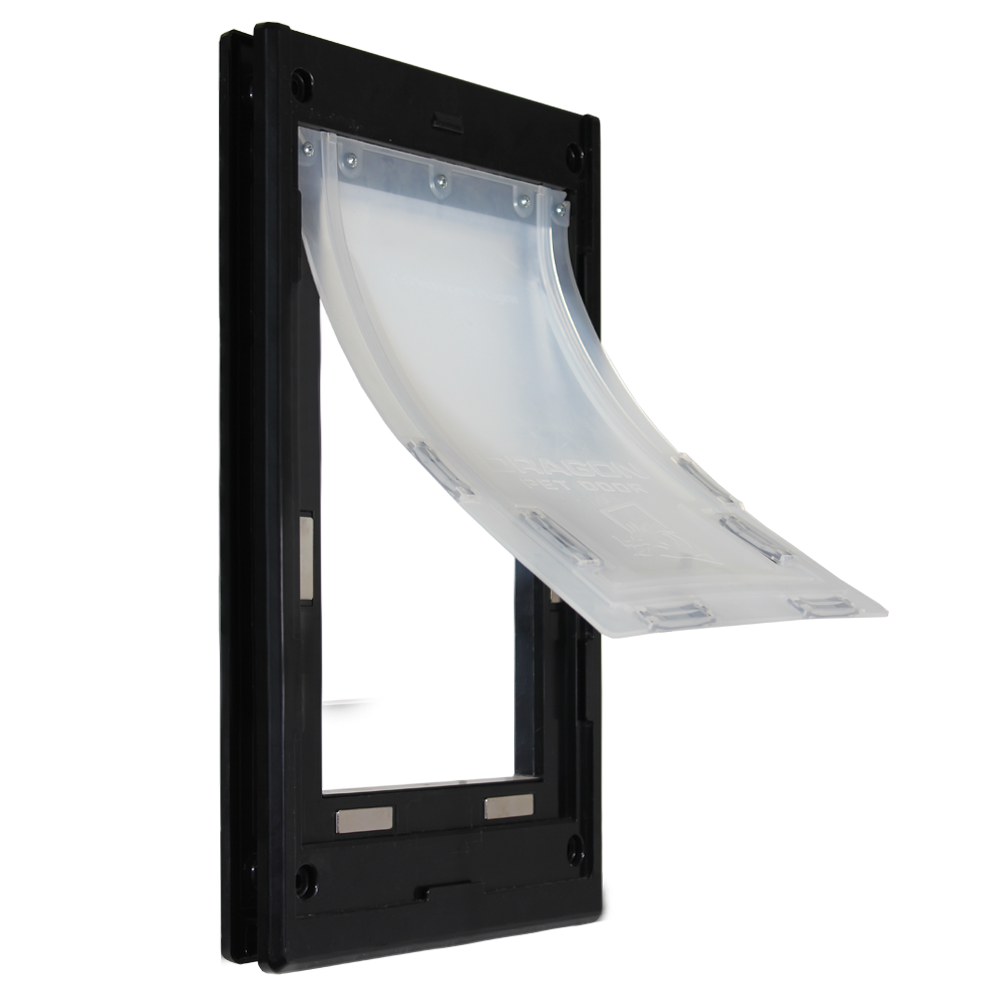
- Translucent, UV-resistant polyolefin elastomer flap for easy pet use.
- Fits standard doors 1-3/8" - 1-3/4" thick, with telescoping tunnel pieces.
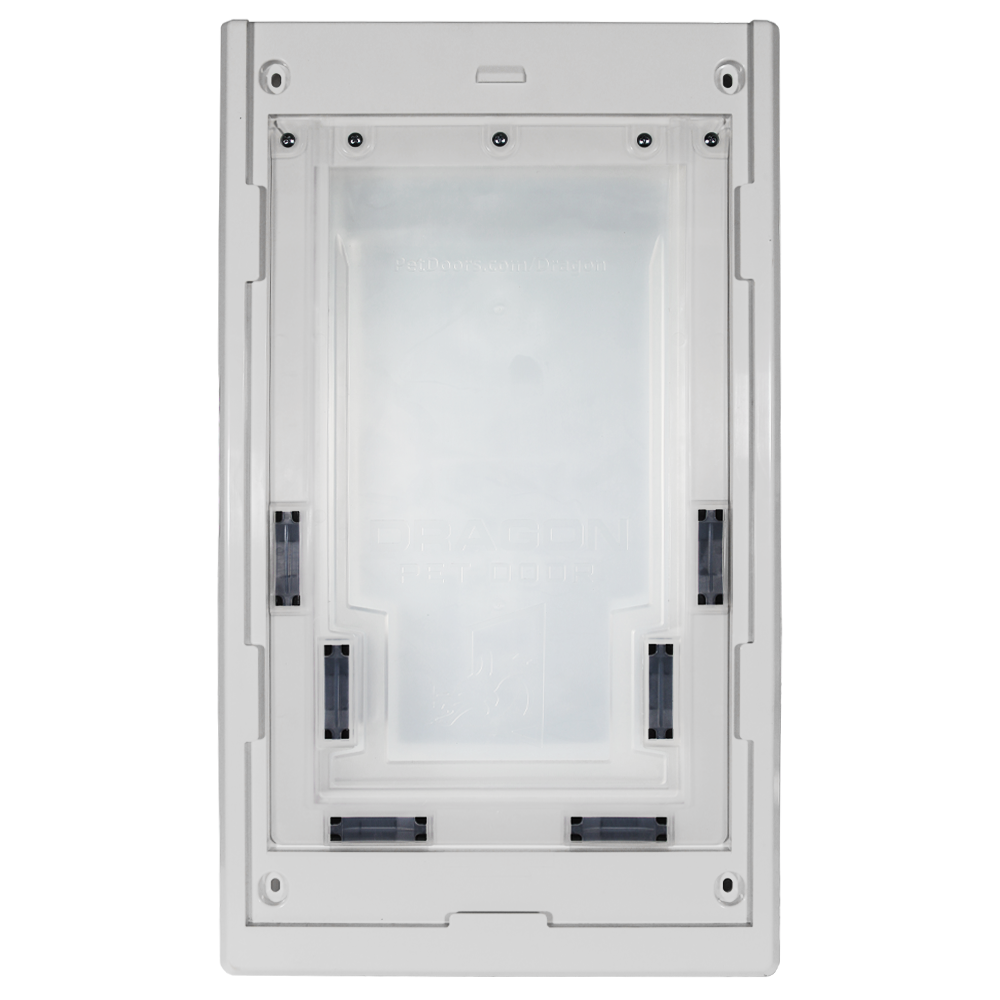
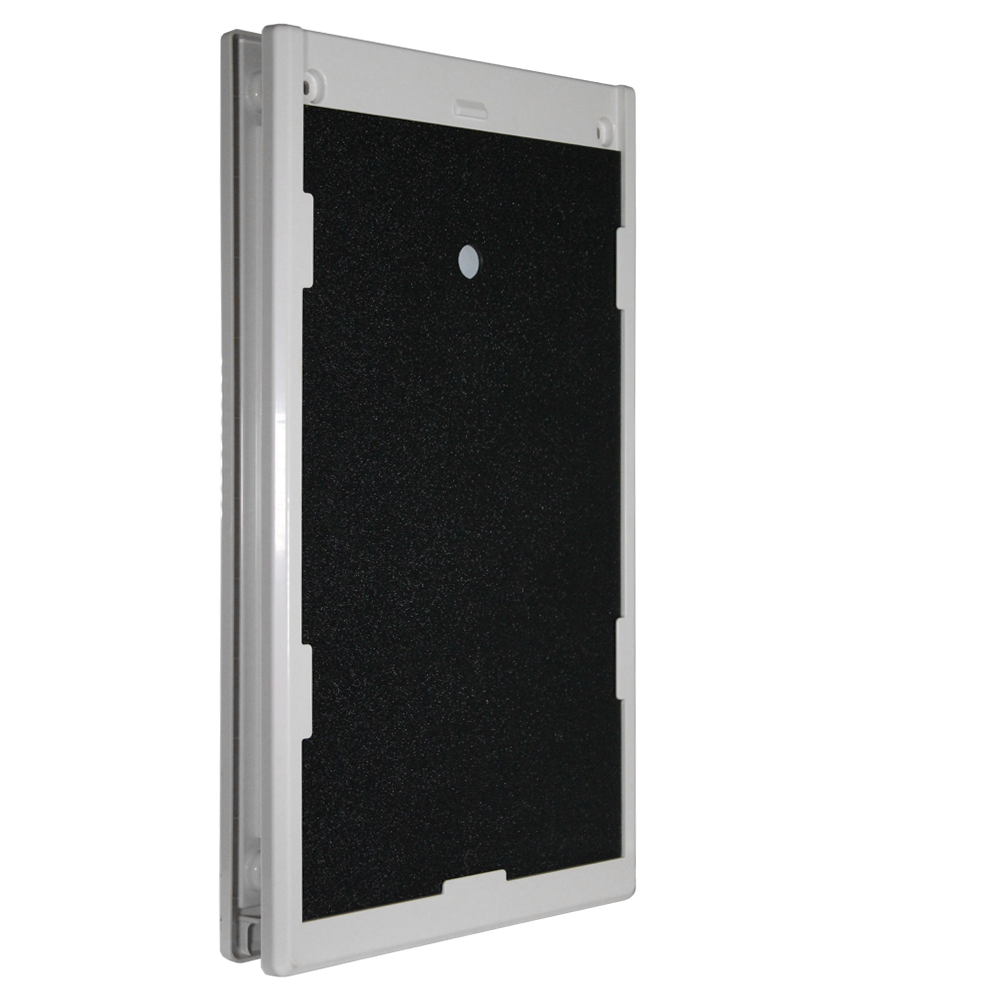
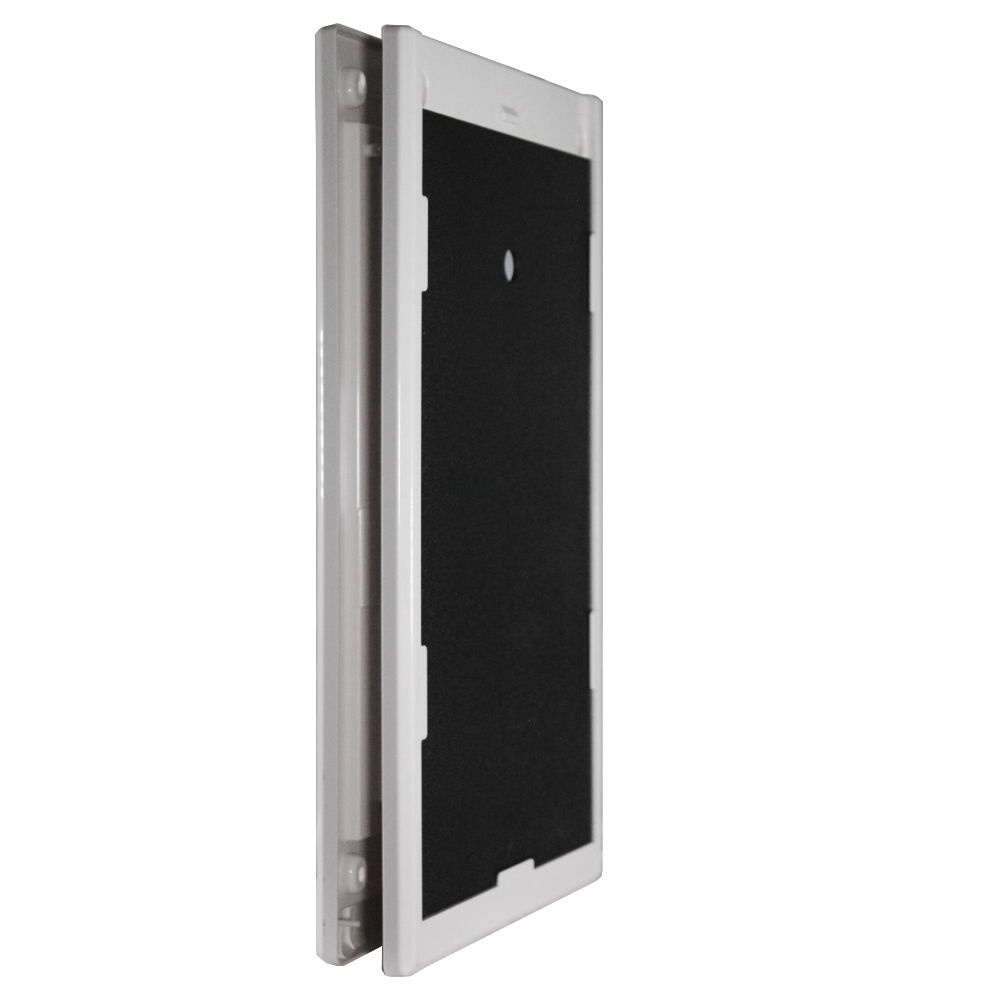
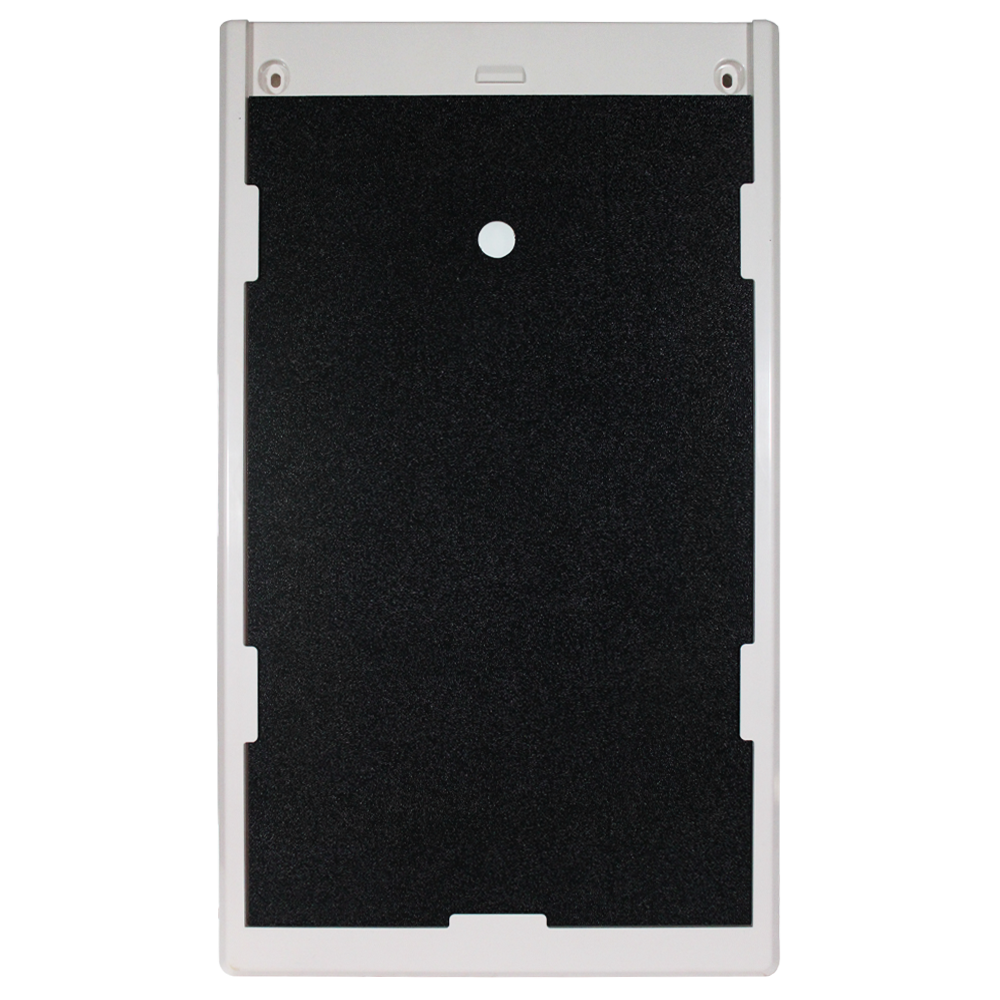
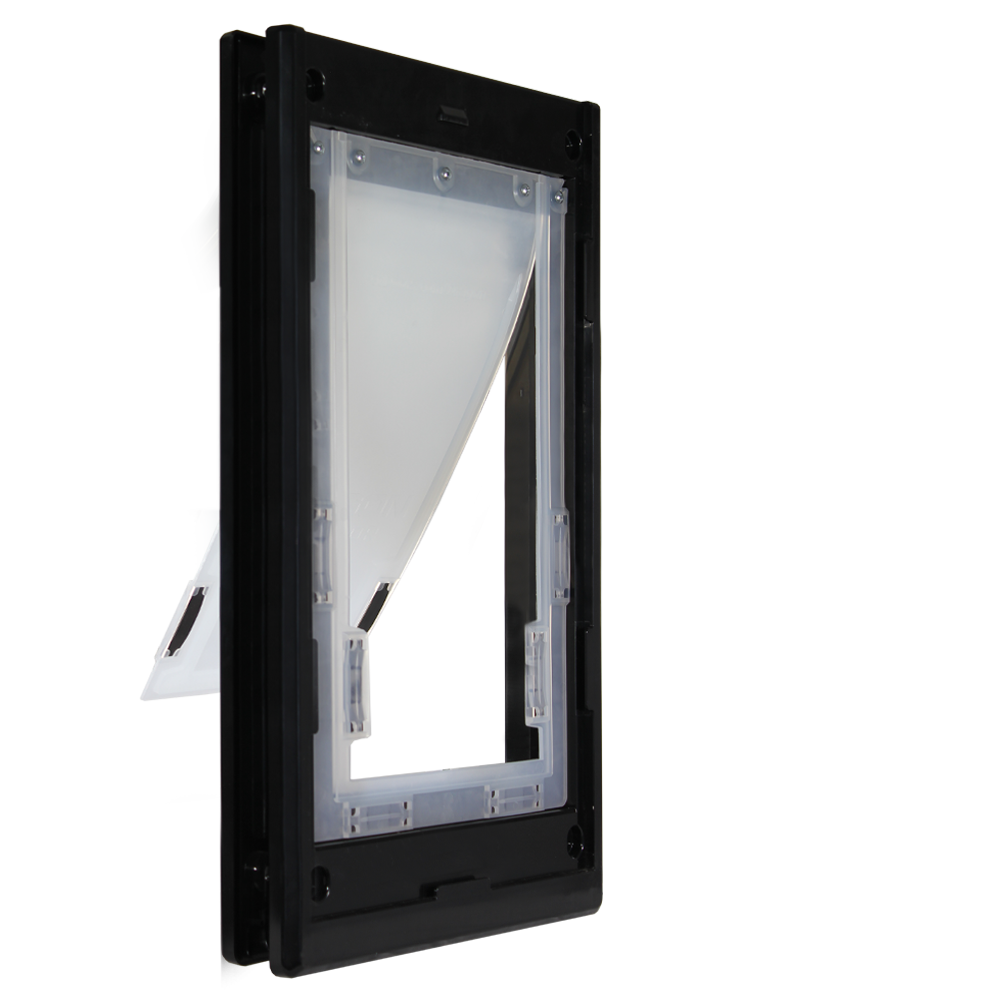
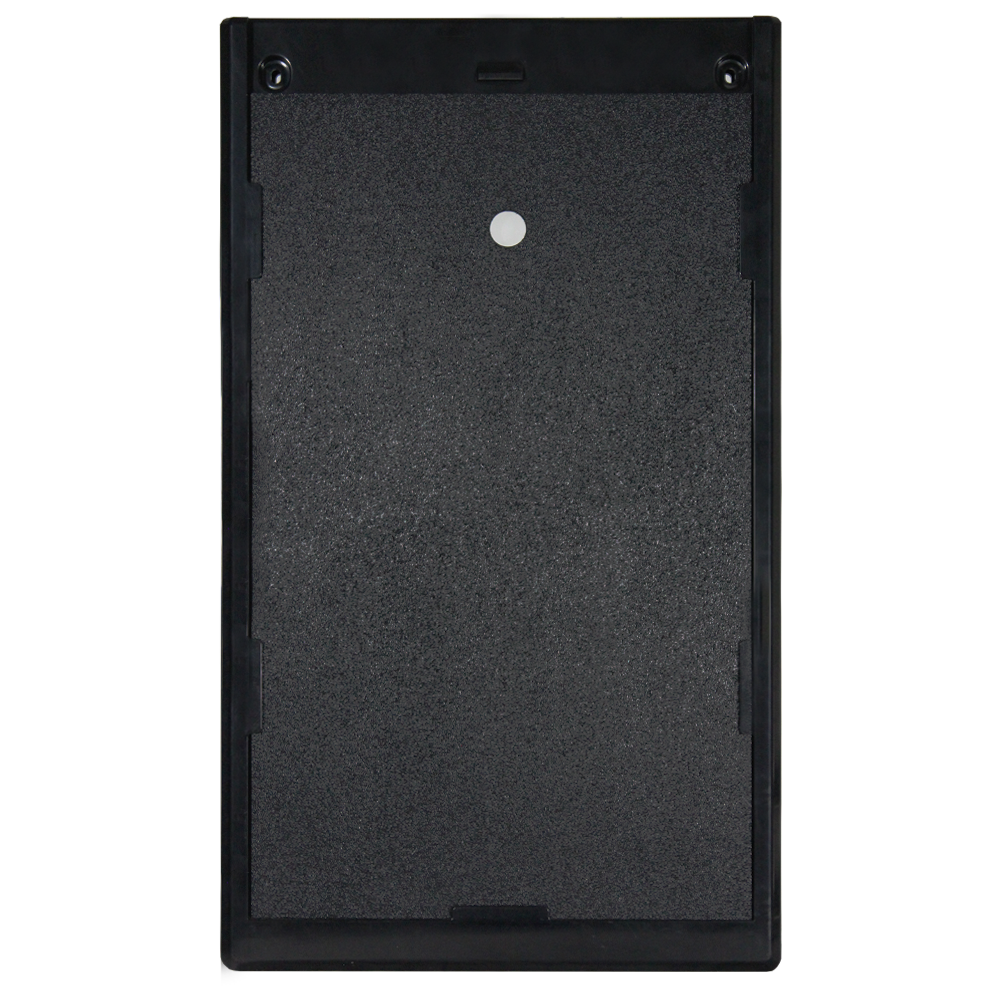
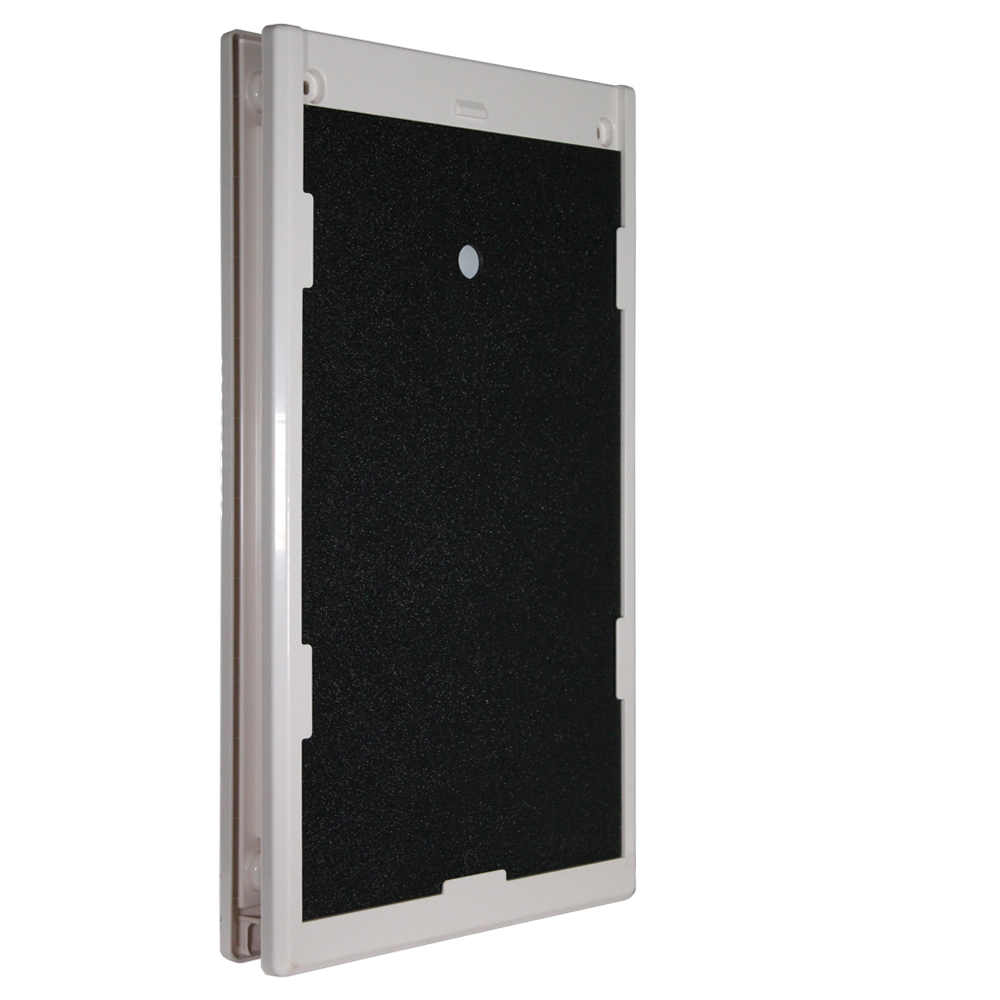
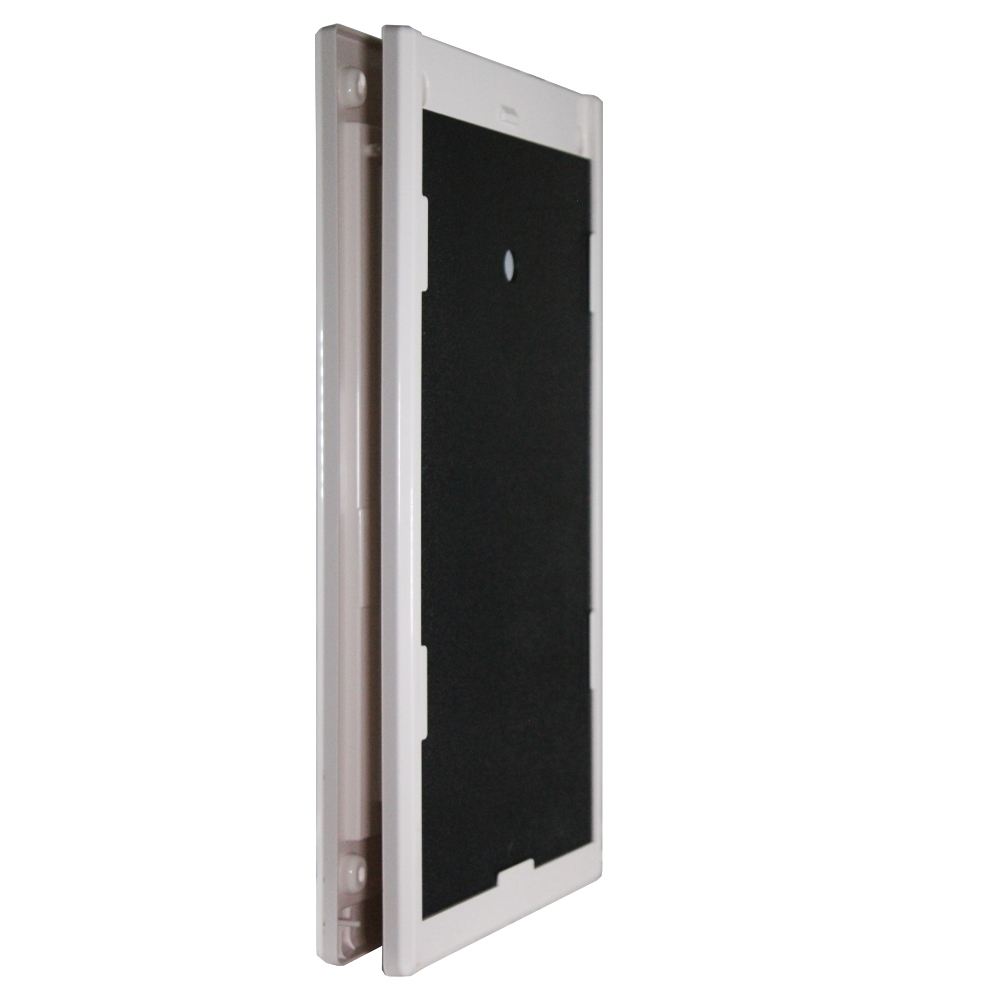
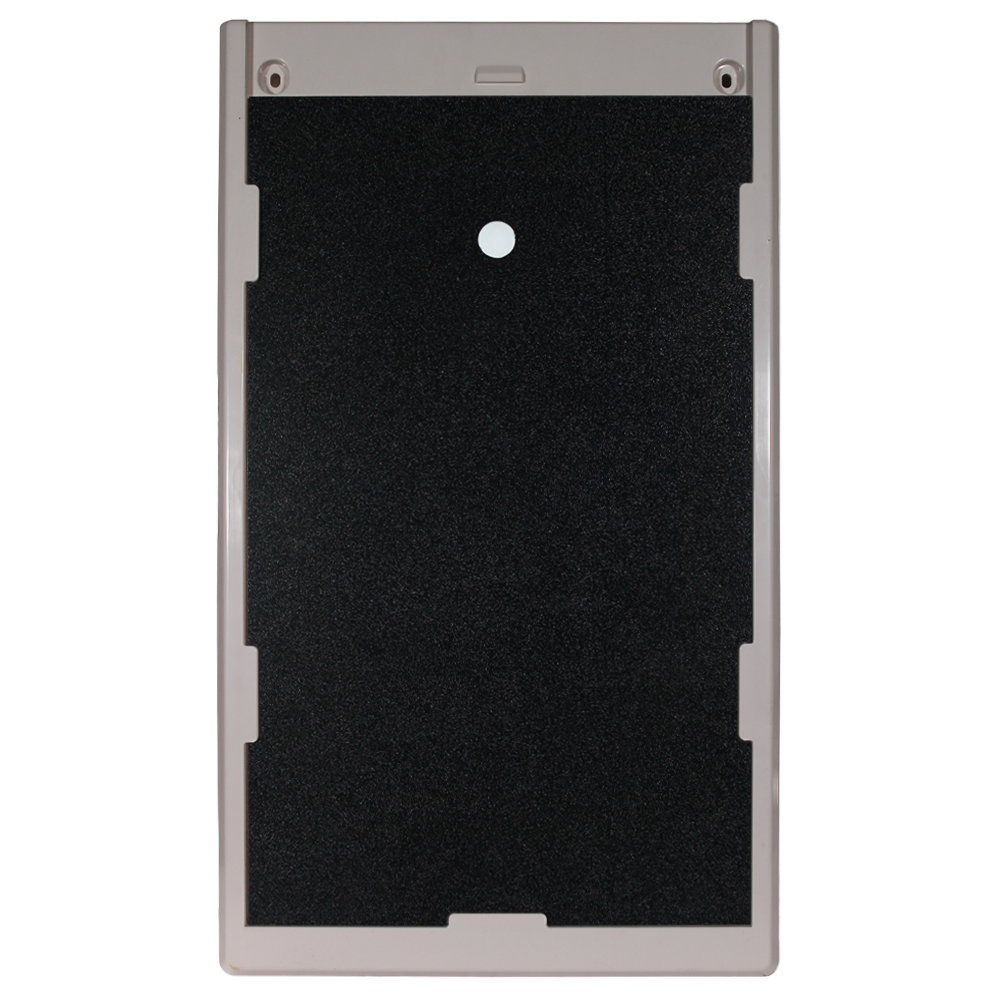
- Comes with a secure, black thermoplastic closing cover for added safety.
 Product Details
Product Details
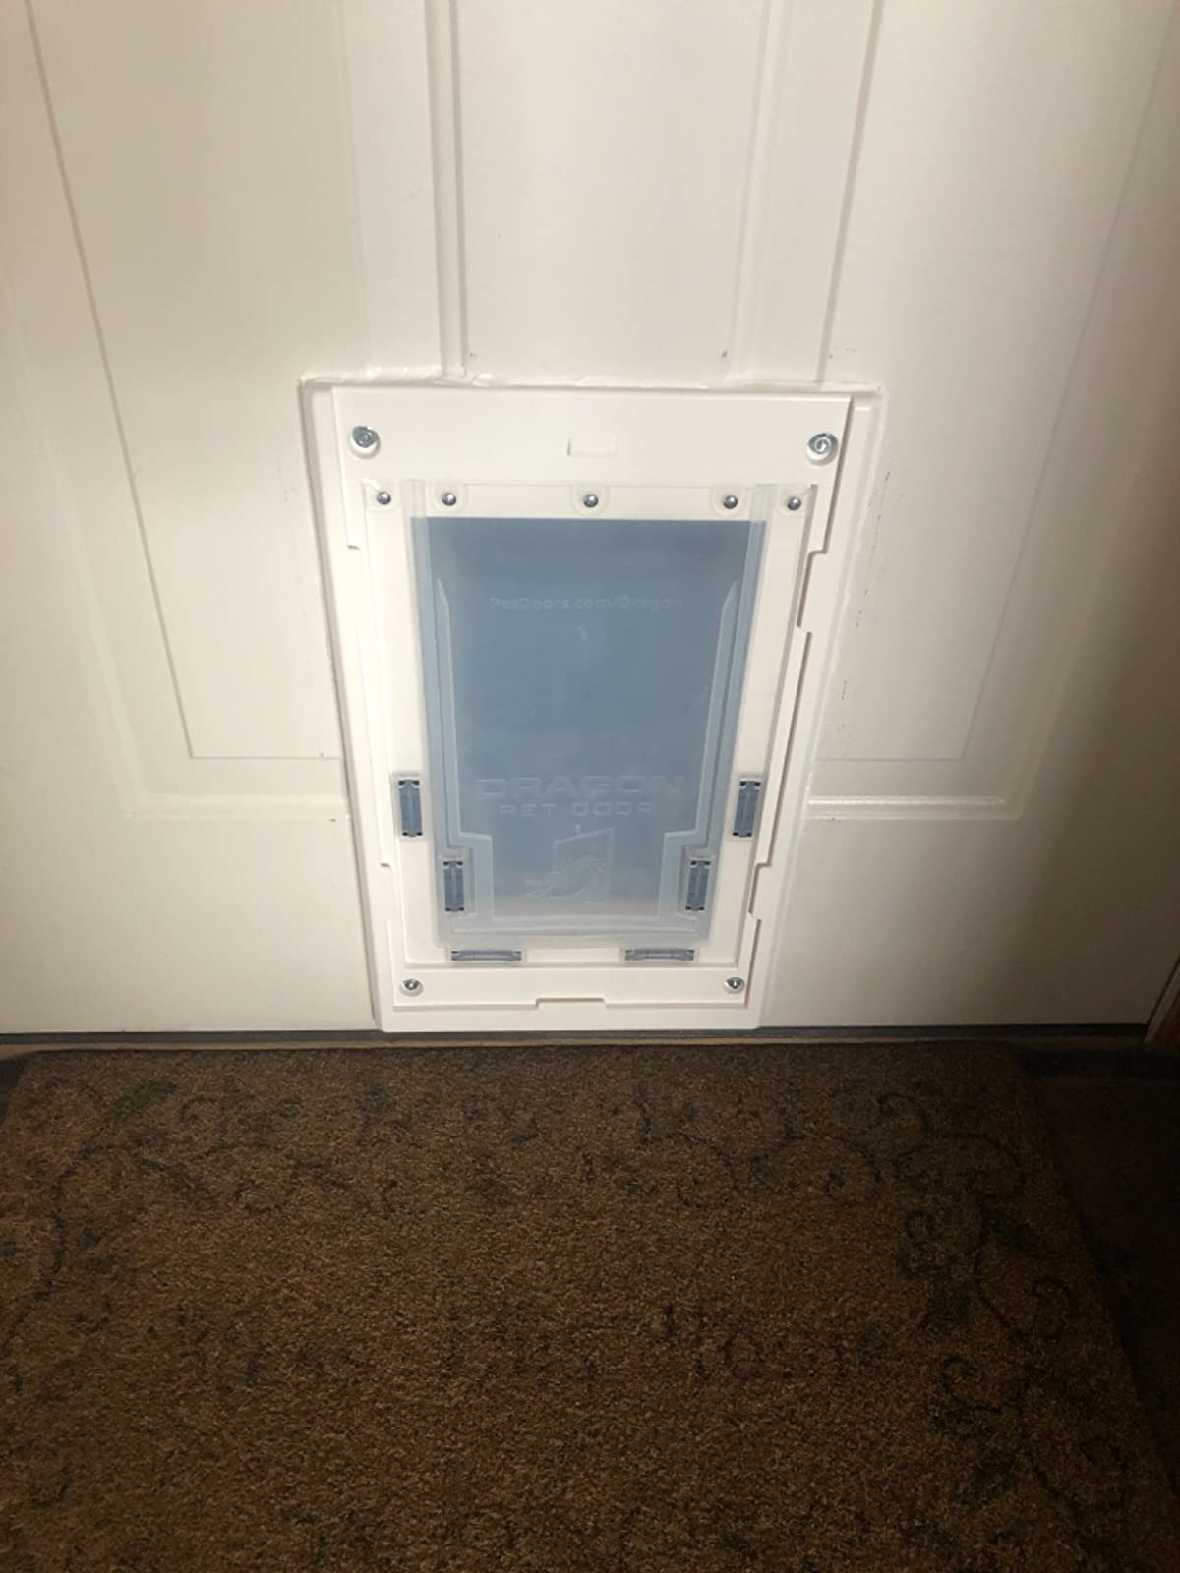
Discover the Dragon Pet Door, a high-quality and affordable solution for granting your pets the freedom to come and go as they please. Our pet door's unique two-piece flap design ensures optimal sealing and insulation, making it perfect for any home. The translucent, UV-resistant polyolefin elastomer flap is easy for pets of all sizes to use while maintaining the integrity and aesthetics of your home.
Designed to fit standard doors with thicknesses ranging from 1 3/8 to 1 3/4 inches, the Dragon Pet Door is a breeze to install. The telescoping tunnel pieces frame and protect the interior of your door, giving it a polished and seamless appearance. Choose between a single or double flap option to suit your climate and insulation needs. The flaps are designed with magnets to keep them securely in place, even during windy conditions.
As a bonus, the Dragon Pet Door comes with a durable, black thermoplastic closing cover. This locking cover can be used to block access when necessary, ensuring the safety of your home and pets. The pet door frame is made of high-quality plastic, providing you with a lasting investment.
The Dragon Pet Door is a fantastic value for its cost, offering excellent insulation and wind resistance, thanks to its innovative two-piece flap design. The pet door is also praised for being sturdy, easy to install, and highly compatible with various door types. The translucent flap design is a favorite among pets, encouraging even the most timid animals to use the door without fear.
Invest in the Dragon Pet Door for a low-cost, high-quality solution that keeps your home insulated, your pets happy, and your life hassle-free. Trust in our one-year warranty and the availability of replacement flaps to keep your investment secure for years to come.
Experience the freedom and convenience that the Dragon Pet Door offers, and join countless satisfied pet owners in making this smart addition to your home.
Already have a Dragon pet door? See which replacement flap fits your door.
Features:
- Economical solution for pet independence, suitable for large and small pets.
- Weather-resistant construction protects against warping and cracking.
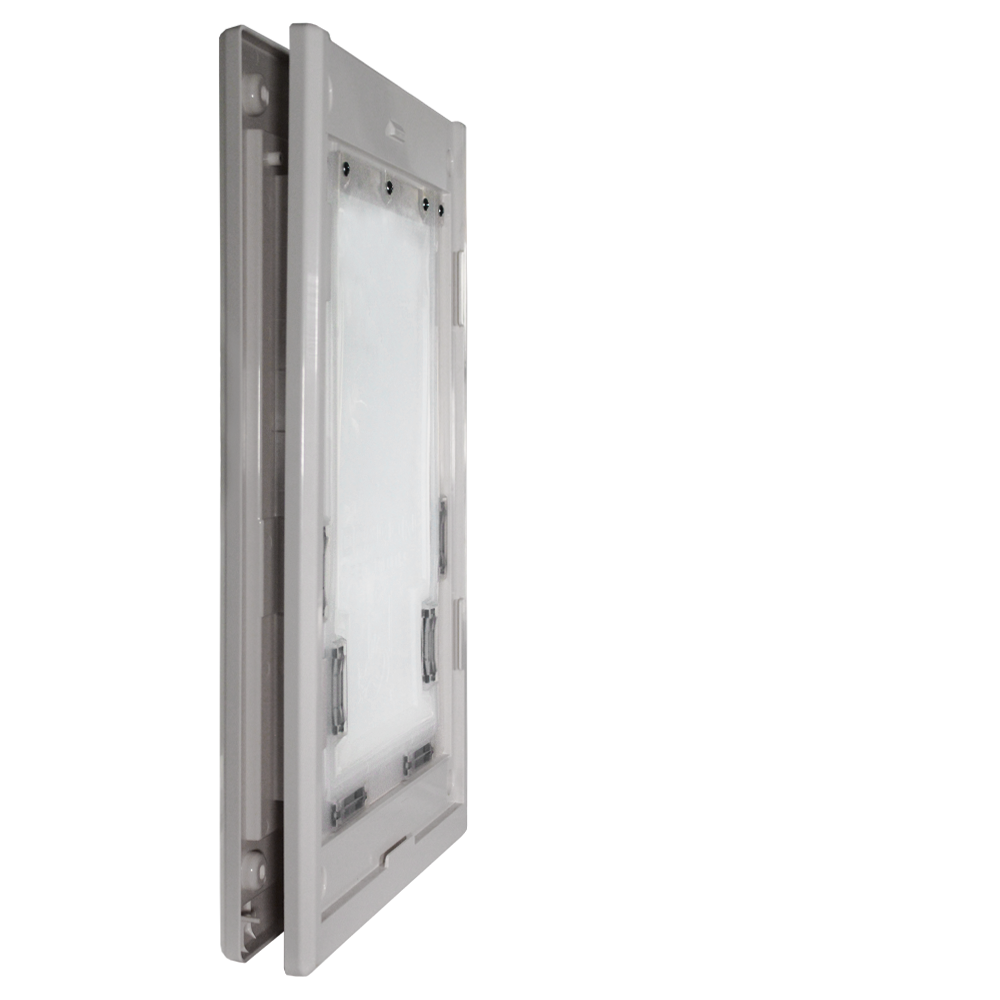
- Self-framing design for simple installation and elegant appearance.
- One-year warranty and availability of replacement flaps for lasting value.
- Excellent insulation for moderate climates, with the option to upgrade for harsher conditions.
- Option of a double flap for harsher climates, easily turn a single flap into a double flap later by attaching another flap assembly
Benefits:
- Economically friendly way to allow pets the independence to come and go
- Tough, weather-resistant pet door saves money on your energy bill
- Flexible, lightweight flap perfect for large and small pets sharing
- Enjoy a low-cost pet door with the benefits of excellent insulation for moderate climates
Size Chart
- Medium 7 1/16"w x 13 1/16"h
- Large 9 3/8"w x 16 9/16"h
Flap Dimensions:
7 1/16"w x 13 1/16"h
The entry way your dog goes through.Outside Frame Dimensions
11 5/8"w x 20"h
The outer edge of the pet door.


Rough Cut Out:
10 1/4"w x 18 1/2"h
The size of the hole needed to fit your pet door into your door.Flap Dimensions:
9 3/8"w x 16 9/16"h
The entry way your dog goes through.Outside Frame Dimensions
14 1/8"w x 23 1/2"h
The outer edge of the pet door.


Rough Cut Out:
12 1/4"w x 22 1/4"h
The size of the hole needed to fit your pet door into your door.| Flap Size | Flap Dimensions | Rough Cut Out | Outside Frame Dimensions | Minimum Step Over | Recommended Pet Height |
|---|---|---|---|---|---|
| Medium | 7 1/16"w x 13 1/16"h | 10 1/4"w x 18 1/2"h | 11 5/8"w x 20"h | 4” | 11" - 17" |
| Large | 9 3/8"w x 16 9/16"h | 12 1/4"w x 22 1/4"h | 14 1/8"w x 23 1/2"h | 4” | 11" - 23" |
IMPORTANT SIZING INFORMATION
The Dragon Pet Door’s two-piece flap is designed to tear away for your pet’s safety. If you pet door is not the right size for your pet, they may break off flap during normal use. Follow these sizing tips to help ensure that you are buying the right Dragon Pet Door size:
- Check the Flap Height: You must measure your dog before purchasing a pet door. A large dog may not fit in a “large” pet door. The tallest point of your dog’s back should be at least 1” beneath the top of the flap.
- Check the Step-Over: Your pet should be able to over the bottom of the flap comfortably. If the distance from the floor to the bottom of the pet door (called the stepover) is too high, your dog’s paw may catch in the pet door’s U-gasket. It’s better to have a taller pet door that is lower to the ground than a smaller pet door that is too high up.
- Check Your Entry/Exit Level: The inside of your home may be higher than the ground outside. This means that your door may have different step-over heights depending on whether you are indoors or outdoors. Try to use the lower level when picking your step over height. You can also even of the different levels with a ramp or platform.
- Reinforce Your Flap: Every Dragon Pet Door comes with instructions for how to reinforce the screws keeping your flap in place. If you are worried in any way that your pet may rip off the flap, we recommend preemptively reinforcing your flap. Note that doing so will negate the teat-away safety feature.
If you have any questions about which size pet door your pet needs, please contact our team of pet door experts for guidance and recommendations.
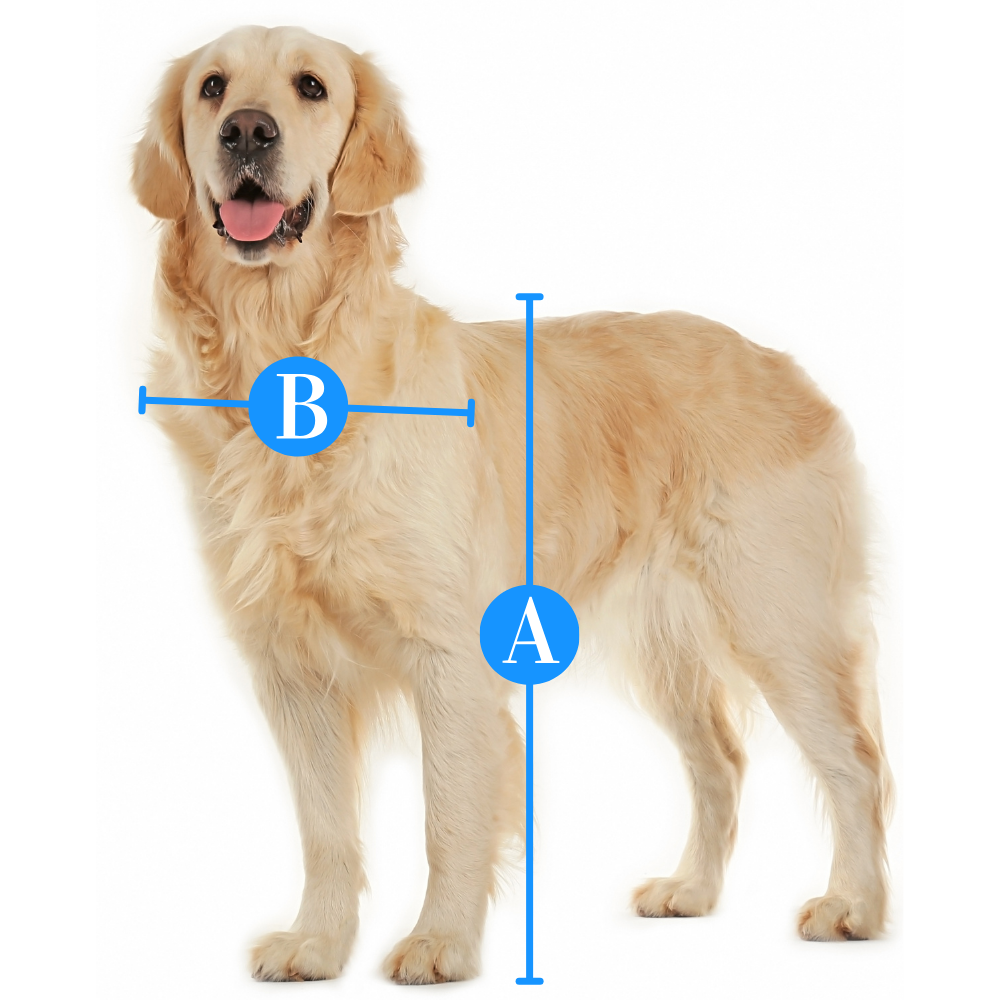
Find The Best Pet Door Size For My Pet

A
Pet Height: inches
B
Pet Width: inches
Installation Instructions

 Difficulty
Moderate
Difficulty
Moderate
 Steps
08
Steps
08
 Time Required
1 - 2 hours
Time Required
1 - 2 hours
 Sections
01
Sections
01
 Flags
05
Flags
05
Parts
- 1 Flap and Frame Assembly
- 4 Long Frame Screws - 2 ¼" long 10-24 machine screws
- 4 Short Frame Screws - 1 ¾" long 10-24 machine screws
- 4 Frame Nuts - serrated flange 10-24 hex nuts
- 4 Frame Washers - steel 9/16" washers
- 1 Locking Cover - rectangular sheet with a hole near the top
Tools
- Phillips screwdriver
- Electric drill
- 5/16” or 3/8“ drill bit
- Jigsaw, painter’s tape
- Pencil
- Flathead screwdriver (optional)
- 3/8” socket or wrench (optional)
- Pliers (optional)
Step 1 Align the Template

- If possible, remove the door from its hinges using a flathead screwdriver and hammer to tap out the hinge pins. Lay the door flat for installation. Tape the installation template to the door where you want to install this face up.
- Place the top edge of this template at least 2" above your pet's shoulders.
- Check that the bottom of the template is at least 1" from the bottom of the door to maintain the door's strength.
- Check the template top edge with a level.
Step 2 Make the Rough Cutout


- Mark the physical outline of this template with a sharp pencil. Remove this template from the door.
- With a 5/16th (8mm) or or 3/8” (9,5 mm) drill bit (5/16” preferred), drill through the corners of the outline with the tip of the bit directly on the outline’s corners.
- Place your jigsaw into the holes and cut along the lines you drew. You should be making a rectangle connecting the center of each of the holes. Cut as straight as possible; aim to not deviate more than 1/8” from the line on either side.
Step 3 Test Fit the Frame Tunnels


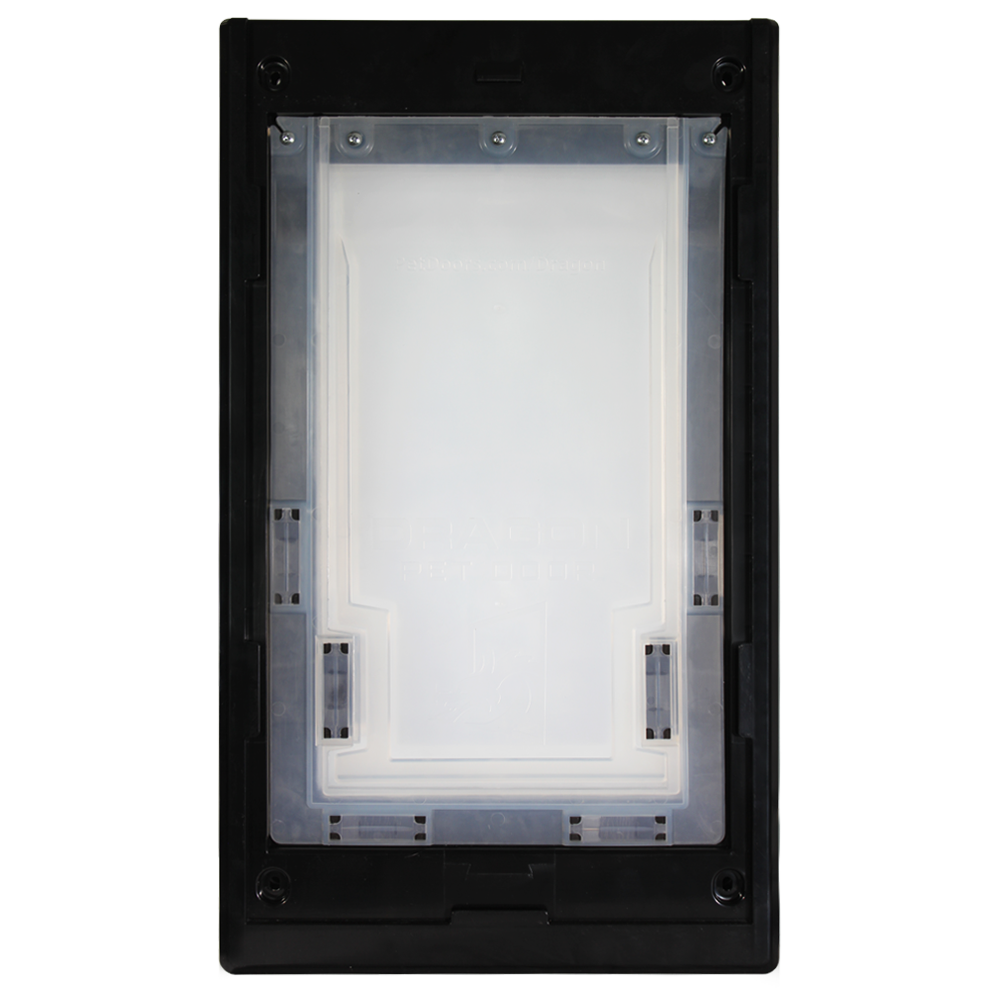
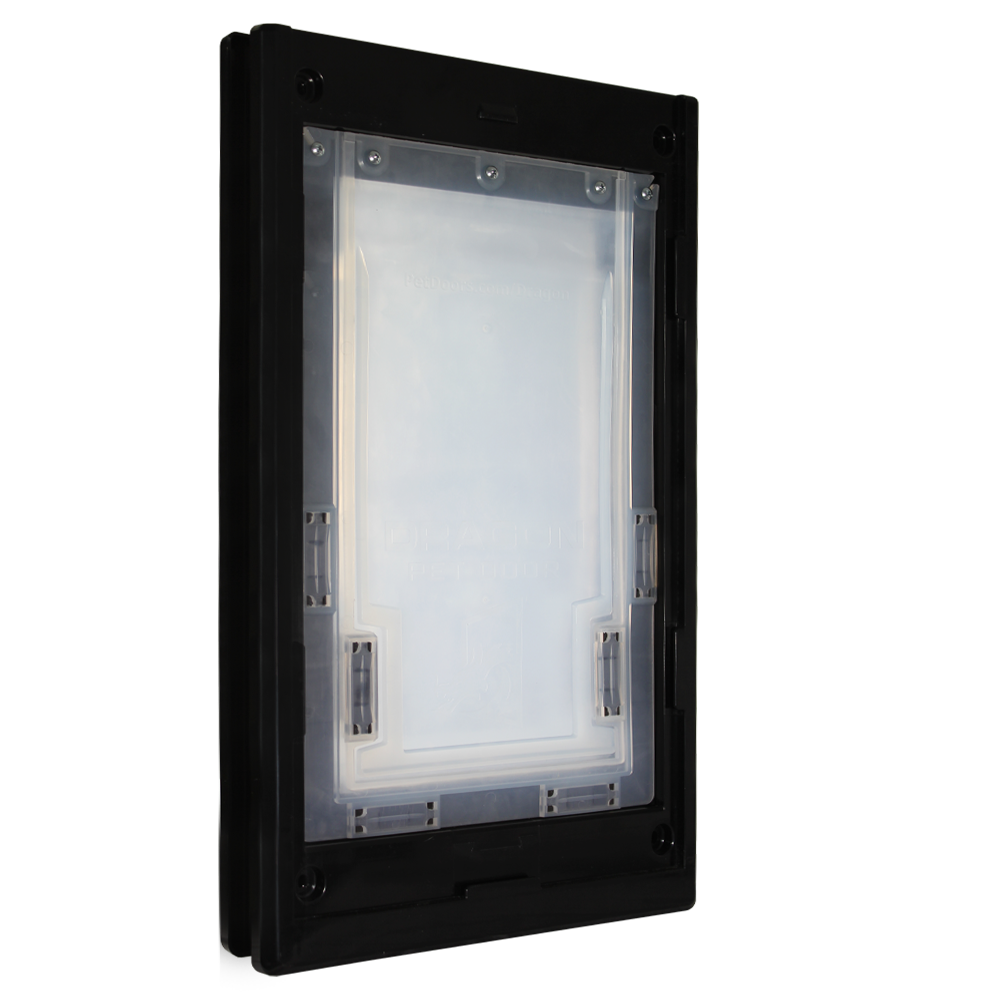
- To test fit the frame tunnels (the flanges on the back of the frame), lay the outside frame face down on the floor.
- Fit the inside frame into the outside frame by first placing the bottom of the inside frame’s tunnel into the bottom-left slot of the outside frame’s tunnel.
- Next, place the right side of the inside frame’s tunnel into the top right slot of the outside frame’s tunnel.
- Remove the frames from each other once you are familiar with how they fit together.
Step 4 Align Frame Pieces


- Rehang your door if you took it off its hinges. Place the outside frame over the rough cutout. Do not place the inside frame into the door yet.
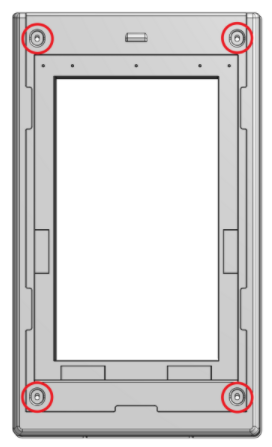
- At least one of the outside frame’s four locator posts (small posts extending from the bottom of the frame—three pictured in the image) will rest on the bottom of the cutout.
- Use painter’s tape to temporarily hold the outside frame in the door. Place tape all around the frame, tightly adhering to the door.
- Ensure that the screw holes in the frame are all visible through the cutout opening, looking at the back of the frame.
Step 5 Fit the Frames Together

- Fit the inside frame into the outside frame, same as in Step 3. You may need to hold the outside frame to keep it from being pushed out.
- Press frames together until both are flush with the door. The locator posts of the inside frame will not be in contact with the rough cutout.
- Use painter’s tape to temporarily hold the inside frame in the door.
Step 6 Position the Frames

Step 7 Screw the Frames in Place


- Reach around the door and place a nut into one of the four pockets on the outside frame, pressing it into the floor of the pocket. Hold it there through the next step.
- Place a frame screw (the 2 ¼” or 1 ¾” screws) with a washer into and through the matching pocket on the inside frame. Start turning the frame screw until it begins to thread into the nut.
- Partially tighten down with a #2 Phillips-head screwdriver. Press the nut into the frame as you tighten it to lock the nut in place. The serrations bite so you don’t have to grip the nut directly. Once the tip of the screw comes through the nut you can press on that instead for the same effect.
- Repeat for all four screws, level the frame, then finish tightening each screw.
Step 8 Seal the Frames

- At this point, there should be washers under the screws on the inside frame and nuts on the outside frame at each of the four points.
- Remove any remaining tape.
- If the frame positions need to be adjusted, loosen screws without removing the nut, make the adjustments, and tighten back down.
- Ensure the frames are flush with your door, are level, and are sturdy.
- With a silicone sealant of your choice, we recommend sealing any gaps on the corners of the inside of the frames, as well as anywhere the two frames meet.
FAQ
What's the difference between the single flap and the double flap?The double flap option provides increased insulation against the cold. Both options have magnets on the flap to keep the door sealed in wind. |
I want to get the large pet door for my dog, but I am concerned about a person fitting through it.All Dragon Pet Doors come with a locking cover. This cover can be used to keep you doggy in. It also can be used to keep intruders from entering your home. It slides into the interior frame. |
How do I know what size is best for my dog?When installing the pet door you want it to clear the top of your dog's back by 1-2 inches, minimum. To give your pet the most comfortable pet door possible, make sure the step-over is less than 1/3 of your dog's height. Lastly you want the width of the door to be big enough to allow your pet to go through without touching the sides. Here's a guide on how to measure your pet with tips on how to determine the correct size. |
Are replacement flaps available?Yes, you can buy Dragon replacement flaps. |
Where can I install the Dragon Pet Door?The Dragon Pet Door has multiple Installation options. You can install it in Regular Doors (using these installation instructions), as a Wall mount, Aluminum Sliding Doors, Vinyl Sliding Doors, Sash Windows, Vinyl Windows, and Horizontal Windows. |
Can my small and large dog share this pet door?Yes, but make sure to follow standard Measuring Guidelines. Make sure the size of the door is based off your tallest pet, but installed low enough for your smallest pet. |
Is the Dragon flap for door mounting the same as the wall mount?Yes! The flap and frames are identical, the only difference would be the hardware that is included for installation. |
Warranty
Dragon Pet Doors One Year Warranty
Dragon Pet Doors have a one-year warranty for normal wear & tear and manufacturing defects.
Customer Reviews

Size Chart
- Medium 7 1/16"w x 13 1/16"h
- Large 9 3/8"w x 16 9/16"h
Flap Dimensions:
7 1/16"w x 13 1/16"h
The entry way your dog goes through.Outside Frame Dimensions
11 5/8"w x 20"h
The outer edge of the pet door. Rough Cut Out:
10 1/4"w x 18 1/2"h
The size of the hole needed to fit your pet door into your door.Flap Dimensions:
9 3/8"w x 16 9/16"h
The entry way your dog goes through.Outside Frame Dimensions
14 1/8"w x 23 1/2"h
The outer edge of the pet door. Rough Cut Out:
12 1/4"w x 22 1/4"h
The size of the hole needed to fit your pet door into your door.| Flap Size | Flap Dimensions | Rough Cut Out | Outside Frame Dimensions | Minimum Step Over | Recommended Pet Height |
|---|---|---|---|---|---|
| Medium | 7 1/16"w x 13 1/16"h | 10 1/4"w x 18 1/2"h | 11 5/8"w x 20"h | 4” | 11" - 17" |
| Large | 9 3/8"w x 16 9/16"h | 12 1/4"w x 22 1/4"h | 14 1/8"w x 23 1/2"h | 4” | 11" - 23" |
IMPORTANT SIZING INFORMATION
The Dragon Pet Door’s two-piece flap is designed to tear away for your pet’s safety. If you pet door is not the right size for your pet, they may break off flap during normal use. Follow these sizing tips to help ensure that you are buying the right Dragon Pet Door size:
- Check the Flap Height: You must measure your dog before purchasing a pet door. A large dog may not fit in a “large” pet door. The tallest point of your dog’s back should be at least 1” beneath the top of the flap.
- Check the Step-Over: Your pet should be able to over the bottom of the flap comfortably. If the distance from the floor to the bottom of the pet door (called the stepover) is too high, your dog’s paw may catch in the pet door’s U-gasket. It’s better to have a taller pet door that is lower to the ground than a smaller pet door that is too high up.
- Check Your Entry/Exit Level: The inside of your home may be higher than the ground outside. This means that your door may have different step-over heights depending on whether you are indoors or outdoors. Try to use the lower level when picking your step over height. You can also even of the different levels with a ramp or platform.
- Reinforce Your Flap: Every Dragon Pet Door comes with instructions for how to reinforce the screws keeping your flap in place. If you are worried in any way that your pet may rip off the flap, we recommend preemptively reinforcing your flap. Note that doing so will negate the teat-away safety feature.
If you have any questions about which size pet door your pet needs, please contact our team of pet door experts for guidance and recommendations.
Find The Best Pet Door Size For My Pet
A
Pet Height: inches
B
Pet Width: inches
Difficulty
Moderate
Steps
08
Time Required
1 - 2 hours
Sections
01
Flags
05
Parts
- 1 Flap and Frame Assembly
- 4 Long Frame Screws - 2 ¼" long 10-24 machine screws
- 4 Short Frame Screws - 1 ¾" long 10-24 machine screws
- 4 Frame Nuts - serrated flange 10-24 hex nuts
- 4 Frame Washers - steel 9/16" washers
- 1 Locking Cover - rectangular sheet with a hole near the top
Tools
- Phillips screwdriver
- Electric drill
- 5/16” or 3/8“ drill bit
- Jigsaw, painter’s tape
- Pencil
- Flathead screwdriver (optional)
- 3/8” socket or wrench (optional)
- Pliers (optional)
Step 1 Align the Template
- If possible, remove the door from its hinges using a flathead screwdriver and hammer to tap out the hinge pins. Lay the door flat for installation. Tape the installation template to the door where you want to install this face up.
- Place the top edge of this template at least 2" above your pet's shoulders.
- Check that the bottom of the template is at least 1" from the bottom of the door to maintain the door's strength.
- Check the template top edge with a level.
Step 2 Make the Rough Cutout
- Mark the physical outline of this template with a sharp pencil. Remove this template from the door.
- With a 5/16th (8mm) or or 3/8” (9,5 mm) drill bit (5/16” preferred), drill through the corners of the outline with the tip of the bit directly on the outline’s corners.
- Place your jigsaw into the holes and cut along the lines you drew. You should be making a rectangle connecting the center of each of the holes. Cut as straight as possible; aim to not deviate more than 1/8” from the line on either side.
Step 3 Test Fit the Frame Tunnels
- To test fit the frame tunnels (the flanges on the back of the frame), lay the outside frame face down on the floor.
- Fit the inside frame into the outside frame by first placing the bottom of the inside frame’s tunnel into the bottom-left slot of the outside frame’s tunnel.
- Next, place the right side of the inside frame’s tunnel into the top right slot of the outside frame’s tunnel.
- Remove the frames from each other once you are familiar with how they fit together.
Step 4 Align Frame Pieces
- Rehang your door if you took it off its hinges. Place the outside frame over the rough cutout. Do not place the inside frame into the door yet.
- At least one of the outside frame’s four locator posts (small posts extending from the bottom of the frame—three pictured in the image) will rest on the bottom of the cutout.
- Use painter’s tape to temporarily hold the outside frame in the door. Place tape all around the frame, tightly adhering to the door.
- Ensure that the screw holes in the frame are all visible through the cutout opening, looking at the back of the frame.
Step 5 Fit the Frames Together
- Fit the inside frame into the outside frame, same as in Step 3. You may need to hold the outside frame to keep it from being pushed out.
- Press frames together until both are flush with the door. The locator posts of the inside frame will not be in contact with the rough cutout.
- Use painter’s tape to temporarily hold the inside frame in the door.
Step 6 Position the Frames
Step 7 Screw the Frames in Place
- Reach around the door and place a nut into one of the four pockets on the outside frame, pressing it into the floor of the pocket. Hold it there through the next step.
- Place a frame screw (the 2 ¼” or 1 ¾” screws) with a washer into and through the matching pocket on the inside frame. Start turning the frame screw until it begins to thread into the nut.
- Partially tighten down with a #2 Phillips-head screwdriver. Press the nut into the frame as you tighten it to lock the nut in place. The serrations bite so you don’t have to grip the nut directly. Once the tip of the screw comes through the nut you can press on that instead for the same effect.
- Repeat for all four screws, level the frame, then finish tightening each screw.
Step 8 Seal the Frames
- At this point, there should be washers under the screws on the inside frame and nuts on the outside frame at each of the four points.
- Remove any remaining tape.
- If the frame positions need to be adjusted, loosen screws without removing the nut, make the adjustments, and tighten back down.
- Ensure the frames are flush with your door, are level, and are sturdy.
- With a silicone sealant of your choice, we recommend sealing any gaps on the corners of the inside of the frames, as well as anywhere the two frames meet.
FAQ
What's the difference between the single flap and the double flap?The double flap option provides increased insulation against the cold. Both options have magnets on the flap to keep the door sealed in wind. |
I want to get the large pet door for my dog, but I am concerned about a person fitting through it.All Dragon Pet Doors come with a locking cover. This cover can be used to keep you doggy in. It also can be used to keep intruders from entering your home. It slides into the interior frame. |
How do I know what size is best for my dog?When installing the pet door you want it to clear the top of your dog's back by 1-2 inches, minimum. To give your pet the most comfortable pet door possible, make sure the step-over is less than 1/3 of your dog's height. Lastly you want the width of the door to be big enough to allow your pet to go through without touching the sides. Here's a guide on how to measure your pet with tips on how to determine the correct size. |
Are replacement flaps available?Yes, you can buy Dragon replacement flaps. |
Where can I install the Dragon Pet Door?The Dragon Pet Door has multiple Installation options. You can install it in Regular Doors (using these installation instructions), as a Wall mount, Aluminum Sliding Doors, Vinyl Sliding Doors, Sash Windows, Vinyl Windows, and Horizontal Windows. |
Can my small and large dog share this pet door?Yes, but make sure to follow standard Measuring Guidelines. Make sure the size of the door is based off your tallest pet, but installed low enough for your smallest pet. |
Is the Dragon flap for door mounting the same as the wall mount?Yes! The flap and frames are identical, the only difference would be the hardware that is included for installation. |
Warranty
Dragon Pet Doors One Year Warranty
Dragon Pet Doors have a one-year warranty for normal wear & tear and manufacturing defects.