Dragon Pet Door for Walls - Replacement Flap Instructions
Installation Instructions
Replacing the Flap
 Difficulty
Easy
Difficulty
Easy
 Steps
05
Steps
05
 Time Required
0.5 Hours
Time Required
0.5 Hours
 Sections
02
Sections
02
 Flags
01
Flags
01
Parts
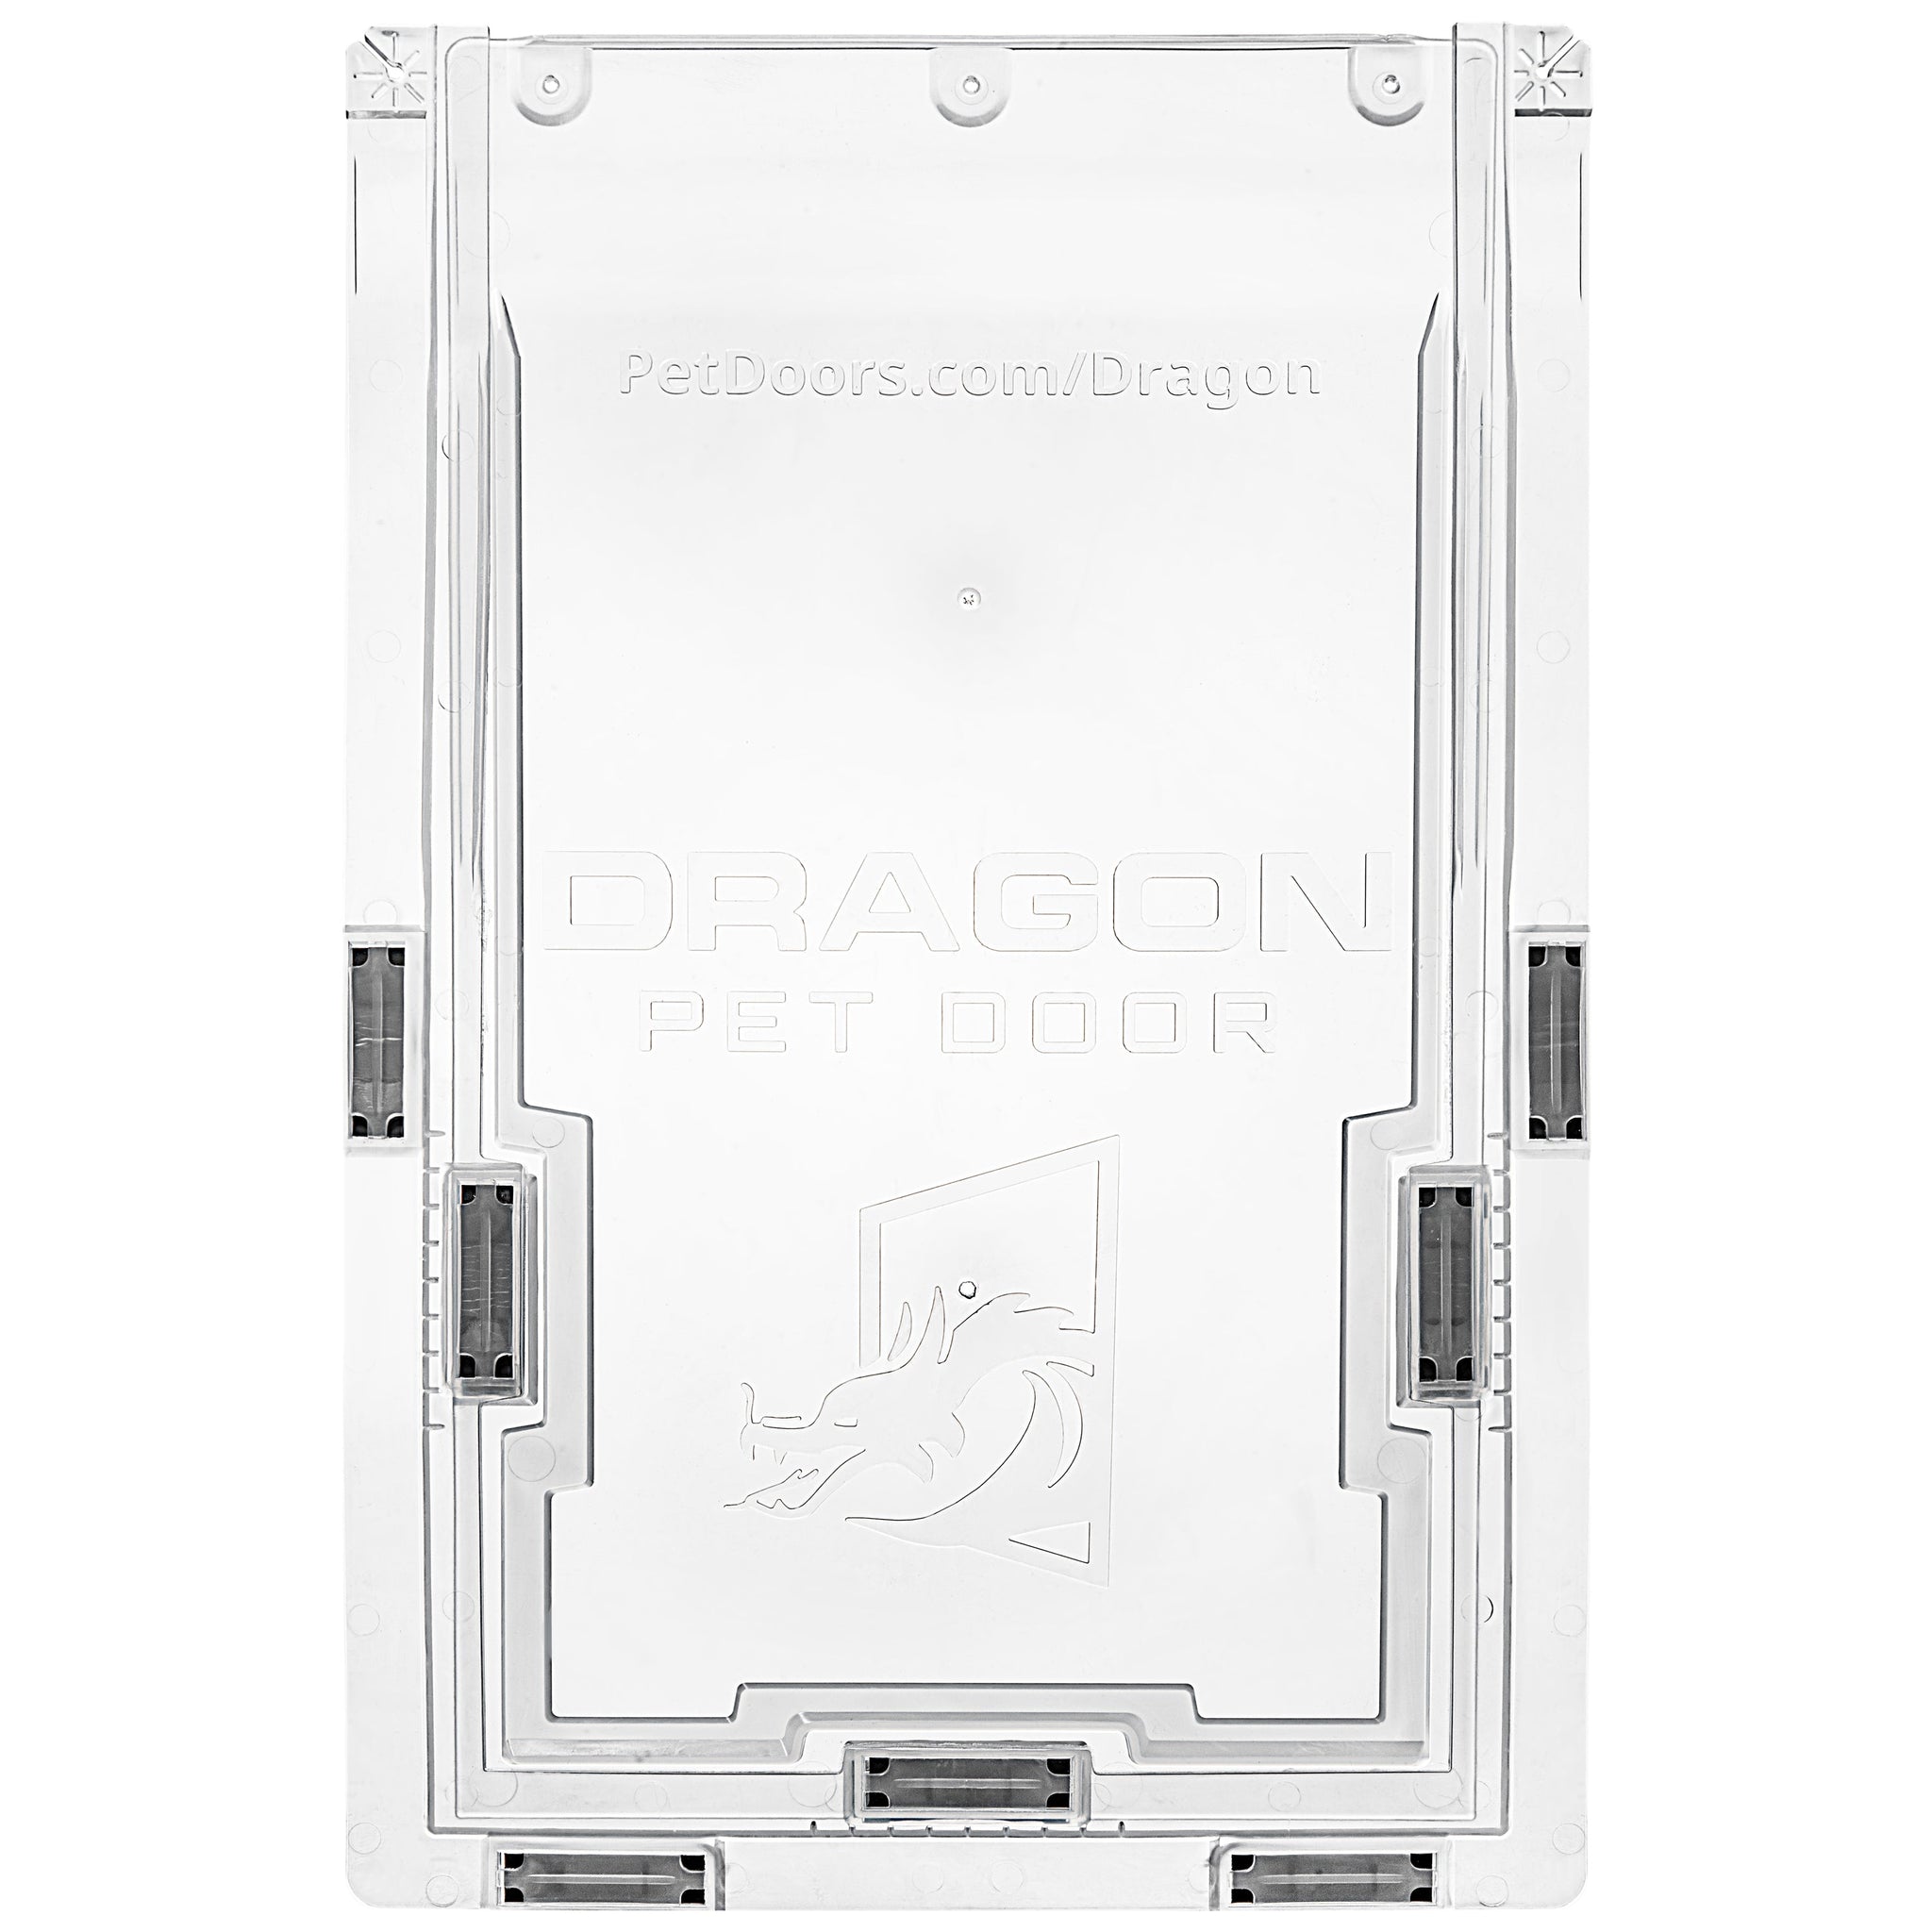
- 1 Main Inner Flap - Interior piece with the Dragon logo
- 1 Outer Flap - Exterior piece shaped like the letter “U”
- 5 Thread-Forming Screws - ½” long screws
- 3-4 Frame Strike Plates - ½” x 1 ¾” steel plates with adhesive backing (small flaps come with 3 plates; medium/large flaps come with 4)
Tools
- Phillips Head Screwdriver
Step 1 Remove the Outer Flap

- Remove the two screws holding in the U-shaped outer flap from the frame with a Phillips-head screwdriver.
- If the screw head gets damaged, you can replace it with a new screw from the kit later.
- Remove the old U-shaped flap. Discard damaged screws as needed.
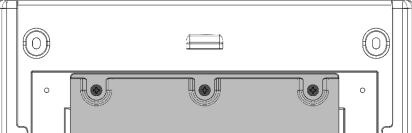
Step 2 Remove the Inner Flap

- Remove the three screws holding the main inner flap.
- Remove the main inner flap from the frame.
Step 3 Remove the Old Magnets

- Separate the magnets from the old flaps.
- The magnets can be discarded in the trash.
- The flap is recyclable. Contact your local waste management and ask if they can recycle polyolefin elastomers or flexible polyethylene.
Step 4 Install the New Inner Flap
- Install the main inner flap onto the frame with the three center screws. The logo should face you, away from the frame.
Step 5 Install the New Outer Flap

- Install the U-shaped outer flap onto the frame with the two remaining screws.
- The magnets should face towards the main flap and the frame.
- If the flaps don't sit quite right, you can try massaging them into place.
- Choosing a selection results in a full page refresh.
- Press the space key then arrow keys to make a selection.